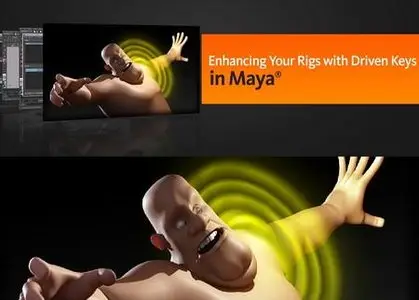
Digital Tutors - Enhancing Your Rigs with Driven Keys in Maya

Digital Tutors - Enhancing Your Rigs with Driven Keys in Maya
English | mp4 | Duration : 1h 54m | AVC 1280x720 15 fps | AAC 128 Kbps 32.0 KHz | 1.03 GB
Genre: eLearning
We'll start by learning how to apply this technique to a mechanical rig, creating a sequence of actions to reveal specific features on a model in a robotic way. We'll also learn how this system can be modified to provide animators with a sufficient amount of control.
We'll then take a look at another example and learn how to create a Driven Key system to hold volume in a skinned mesh. Instead of relying on the rotation of joints that can flip due to Gimbal Lock, we'll learn more a robust solution that uses an object's point space to drive corrective bones and targets.
We'll even learn techniques for creating and mirroring corrective shapes faster! By the end of this tutorial, you will learn reliable workflows that use Driven Keys to get the results we want from our control rigs.
Contents:
1. Introduction and project overview 01:13
2. Enhancing mechanical rigs with driven keys 10:14
3. Completing our work on the lower level of the weapon 10:11
4. Setting driven keys to control the upper part of the weapon 12:27
5. Finishing the driven keys needed for the weapon 12:00
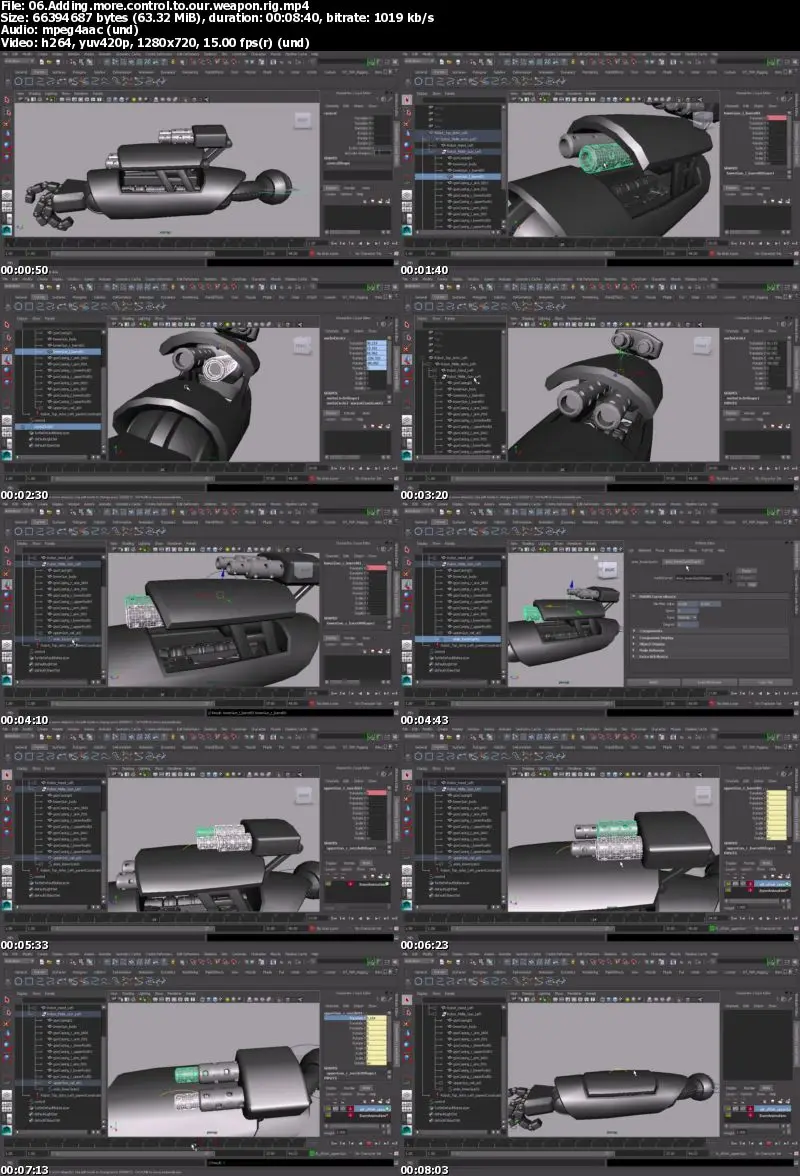
6. Adding more control to our weapon rig 08:41
7. Using driven keys to hold volume as a skin deforms 09:07
8. Completing our space-tracking tool for the left shoulder 09:10
9. Mirroring our Guide Plane 05:19
10. Using our Guide Planes to correct the deformations of the scapulae 04:09
11. Creating corrective targets from a deforming mesh 11:00
12. Setting up a tool to mirroring blend shapes 13:22
13. Using the Guide Planes to drive our corrective shapes and cleaning up the scene 07:50
Screenshot
Digital Tutors - Enhancing Your Rigs with Driven Keys in Maya