

Crypto Ticker with Arduino ESP32/ESP8266
Crypto Ticker with Arduino ESP32/ESP8266
Duration: 1h 43m | .MP4 1280x720, 30 fps(r) | AAC, 44100 Hz, 2ch | 1.25 GB
Genre: eLearning | Language: English
Duration: 1h 43m | .MP4 1280x720, 30 fps(r) | AAC, 44100 Hz, 2ch | 1.25 GB
Genre: eLearning | Language: English
DIY Crypto Live Ticker - keep track of your crypto portfolio
What you'll learn:
Using HTTP request to load data from public APIs
Using JSON objects in Arduino
Displaying graphics and text on an OLED display
Automatically fit multiline text to multiple rows using code
Requirements:
First experience in Arduino development. You know how to use the IDE and you can search for/include libraries.
Description:
In this video course you will learn how to control a 0.96 inch OLED display with the U8g2 library. You can convert your own JPG files into XBM files and display them on the display.
In the next section, we will fetch the current rate/price data of the desired cryptocurrencies via a free API. We will display these in EUR and USD on the display next to a small graph. The API provides us with a timestamp, which we can use to display the exact date/time of the cryptocurrency's price. This way you are always up to date and keep an overview of your crypto portfolio.
Furthermore, we will also display a multiline text, so that you can also use other APIs for your crypto ticker, such as current news or weather data.
At the end of the coding I will show you how to adapt the whole project for the ESP8266. For this you need a slightly different structure for the GET request. So you can decide if you want to use the ESP32 or ESP8266 for this project.
In another chapter, I'll go into the construction of the 3D printed case, in case you're interested in adapting or using it. In the last video I show you how I assemble everything.
All codes can be downloaded, so you can get the result without frustration.
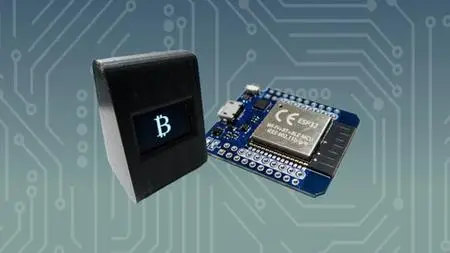
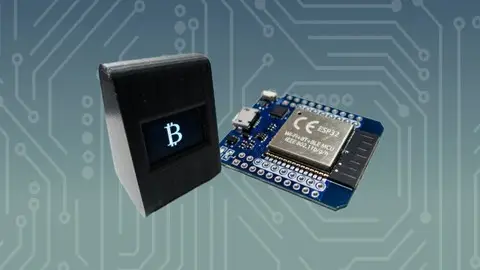
We use the following components in this practical project.
ESP32/ESP8266
OLED Display SSD1306 128×64
See you in class
pixelEDI
Who this course is for:
To all DIY enthusiasts and hobby developers who develop with the Arduino platform
More Info