


Complete Intro to React v4 (2018)

Complete Intro to React v4 (2018)
WEBRip | English | MP4 | 1920 x 1080 | AVC ~563 kbps | 30 fps
A_VORBIS | 192 Kbps | 48.0 KHz | 2 channels | 6h 38min | 2.3 GB
Genre: Video Tutorial
WEBRip | English | MP4 | 1920 x 1080 | AVC ~563 kbps | 30 fps
A_VORBIS | 192 Kbps | 48.0 KHz | 2 channels | 6h 38min | 2.3 GB
Genre: Video Tutorial
Learn to build real-world applications in React! Much more than an intro, you’ll start from the ground up all the way to using the latest features in React 16+ (like React Context and Portals). Then go beyond React to building scalable applications using latest tools available in the React ecosystem such as Parcel, Jest and Reach Router!Next, you will explore how to put together UI components that every game needs, including life bars, dialogue systems, and maps. Finally, you will discover how to customize these components to fit your game theme and give your players that extra wow factor. By the end of the course, you’ll have a foundational understanding of the UI components that turn good games into great games.
Introduction
Prelude & Git Setup
00:00:00 - 00:07:17
Prelude & Git Setup
Brian explains the differences between the Complete Intro to React version 3 versus version 4 of the course. He also gives a tour of how to get setup with the code with git and how to get reset with the code at any point in the course. - _https://bit.ly/react-v4
Course Introduction
00:07:18 - 00:12:27
Course Introduction
Brian introduces himself and gives his background with React in launching the React code at Reddit. Brian also gives an overview of why he likes React. - _https://btholt.github.io/complete-intro-to-react-v4/intro
Pure React
Setup index.html
00:12:28 - 00:16:05
Setup index.html
Brian sets up an index.html using VS Code's built in emmet integration. We'll be building a Pet Finder application throughout the workshop.
Including React
00:16:06 - 00:20:56
Including React
Add a root element that React will render components into. Also include the React and ReactDOM script files from the unpkg CDN.
Add CSS File
00:20:57 - 00:24:14
Add CSS File
Add the CSS file included in the course code repository. Open the console to see that React is loaded.
App Function & Editor Ligatures
00:24:15 - 00:27:40
App Function & Editor Ligatures
Create an arrow function and assign it to the App variable. When he writes the arrow function, the font is combined into a symbol which is enabled by font ligatures. Brian shows how he enabled them.
Your First Component
00:27:41 - 00:33:34
Your First Component
Create a div and h1 element that renders React into the webpage. Brian uses a stamp analogy to explain how you can reuse the components you build throughout your app.
Making a Reusable Component
00:33:35 - 00:39:10
Making a Reusable Component
Create a Pet component that can be stamped out onto the page any number of times.
Passing Component Props
00:39:11 - 00:42:07
Passing Component Props
Make the Pet component more flexible by passing props to the component.
Class vs Function Component
00:42:08 - 00:44:43
Class vs Function Component
Convert the App component into a class component. You can use function components for components that don't need the more powerful parts of React like state and lifecycle methods.
Adding a Click Handler
00:44:44 - 00:48:45
Adding a Click Handler
Add a click event to the title that calls a method in the component class. Brian discusses why this approach in React of having all markup and event handling in the component vs spread amongst other modules is good for debugging.
React Tooling
npm
00:48:46 - 00:54:13
npm
Brian introduces npm which is used to install both front-end and back-end JavaScript modules with Node.js. Start by creating a package.json file b using the "init -y" command.
Installing Prettier for Code Formatting
00:54:14 - 01:00:42
Installing Prettier for Code Formatting
Use npm to install the prettier node module. Running prettier from the command line allows you to format the code according to the prettier default formatting rules.
Adding Prettier into Your Editor
01:00:43 - 01:04:25
Adding Prettier into Your Editor
Make your code editor run prettier for format the code every time you save a file.
Adding Prettier CLI Script
01:04:26 - 01:10:27
Adding Prettier CLI Script
Create a command line script to format code with prettier. This script can be ran by your CI system or developers who don't have prettier integrated into their editor. Add the format script to your package.json.
Adding ESLint for Code Quality
01:10:28 - 01:18:38
Adding ESLint for Code Quality
ESLint is another tool to assist with code quality that works nicely alongside Prettier. ESLint handles JavaScript coding standards on top of Prettier's code formatting rules.
Adding an ESLint CLI Script
01:18:39 - 01:28:39
Adding an ESLint CLI Script
Create a command line script to run ESLint rules on your JavaScript and JSX files.
Parcel
Webpack vs Parcel
01:28:40 - 01:32:24
Webpack vs Parcel
Introduction to Parcel, a zero configuration build tool. Brian still uses Webpack for large projects, but chooses Parcel for this course because it simplifies setup.
Parcel
01:32:25 - 01:36:30
Parcel
Add a script to start Parcel and server your React app from localhost.
Installing React from npm with Parcel
01:36:31 - 01:41:06
Installing React from npm with Parcel
Include React and ReactDOM from the npm registry automatically with Parcel. This should blow your mind a little bit.
Extracting Component Module
01:41:07 - 01:44:40
Extracting Component Module
Brian uses some VS Code magic to extract the Pet component to it's own module. Parcel imports and composes the modules together to deliver to the browser.
JSX
Writing a Component in JSX
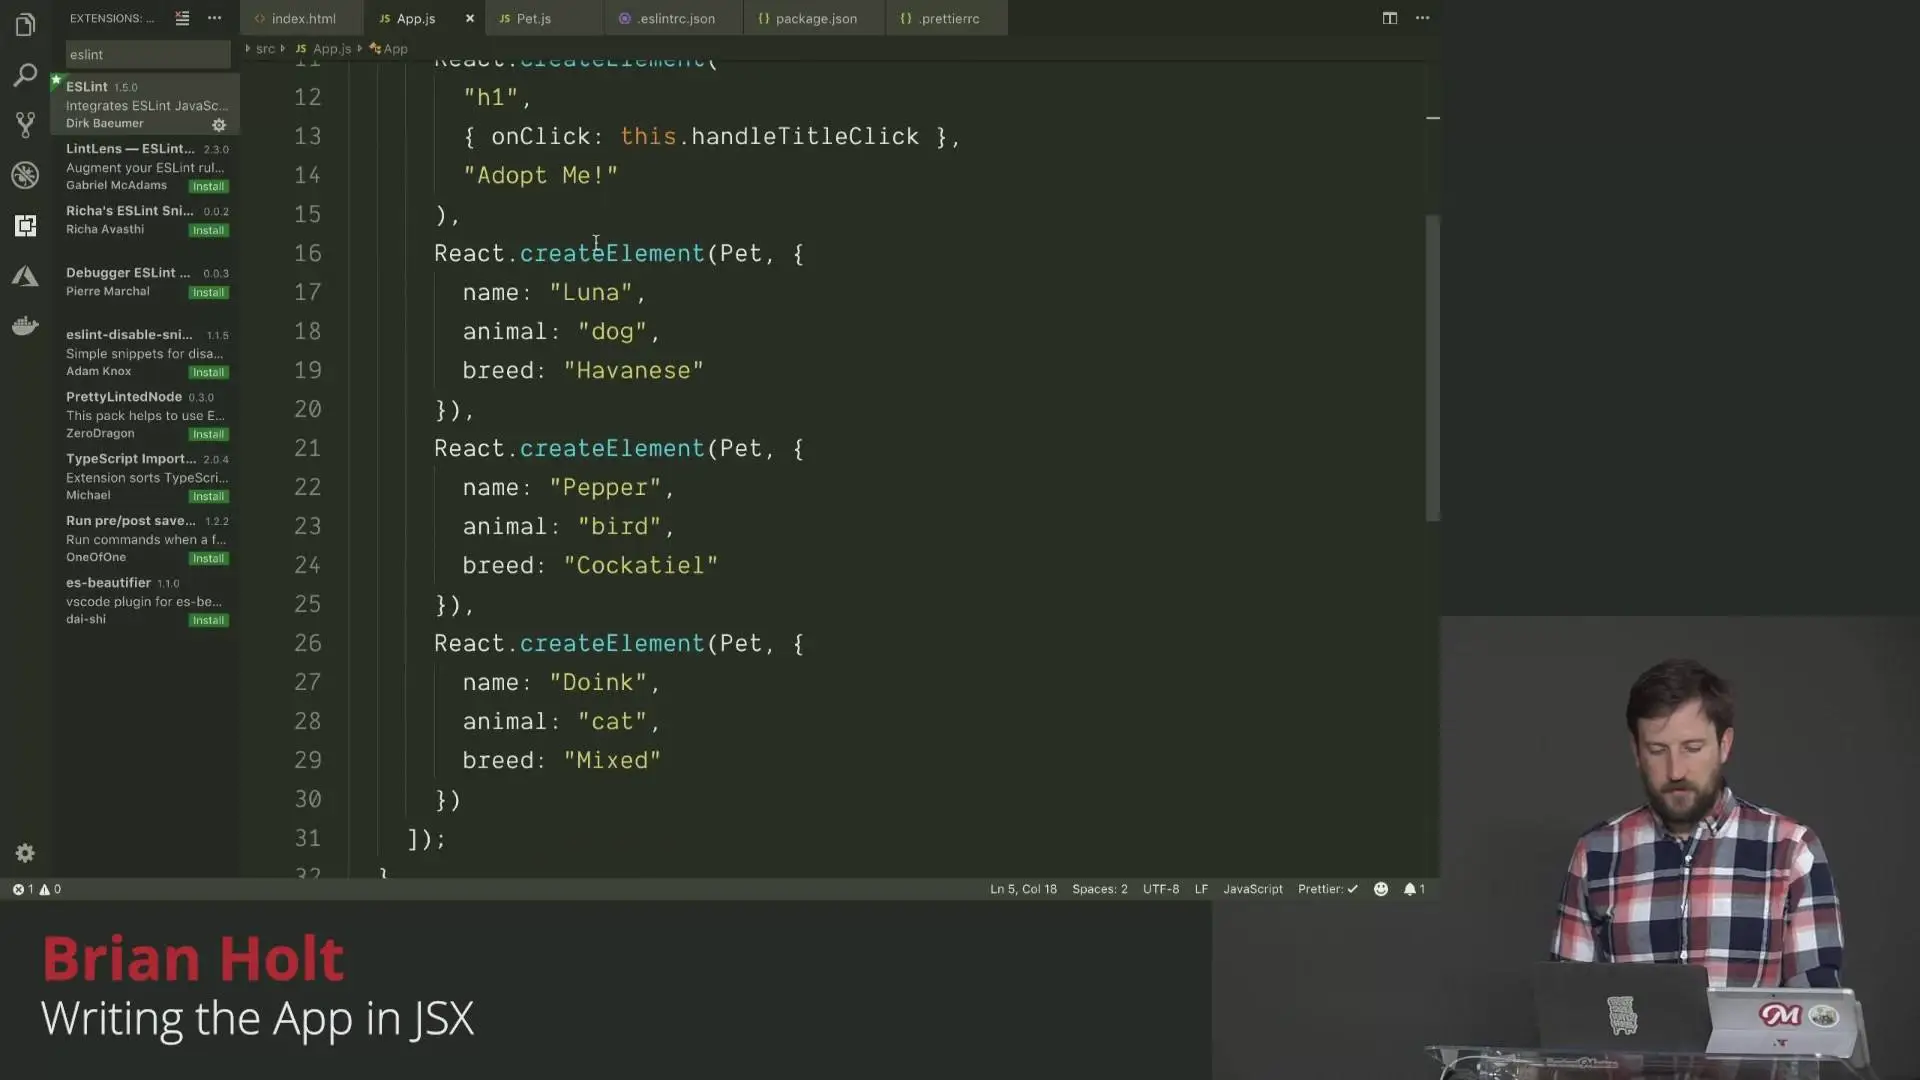
01:44:41 - 01:55:04
Writing a Component in JSX
JSX is a way to write HTML that gets translated into React createElement calls to generate the HTML with JavaScript. Refactor the Pet component to use JSX. Also learn how to use attributes in JSX.
Writing the App in JSX
01:55:05 - 02:01:29
Writing the App in JSX
Convert the App component to using JSX. Reuse the Pet component in JSX and pass props to it.
Configuring ESLint with React
02:01:30 - 02:14:32
Configuring ESLint with React
Add the ESLint plugins to catch common errors in React. Also install the ESLint accessibility plugin to catch things that will cause your application to be inaccessible to those with disabilities.
Rendering Data
Setup the Petfinder API Keys
02:14:33 - 02:19:56
Setup the Petfinder API Keys
Make a new Petfinder API key and API Secret to then add it to your .env file which will be read by Parcel.
Using the Petfinder API Client
02:19:57 - 02:27:49
Using the Petfinder API Client
In the componentDidMount lifecycle method in the App component, fetch pets from the Petfinder API client and log the results.
Set Component State form API Results
02:27:50 - 02:37:17
Set Component State form API Results
Initialize component state in the class constructor. Then after pulling pets from the API, update pets state on the component with the React setState method.
Debug Component State in React
02:37:18 - 02:39:23
Debug Component State in React
Learn to debug component state in React using the JSON.stringify method.
Rendering List of Components
02:39:24 - 02:44:58
Rendering List of Components
Map over the pets and render components with the pet data returned from the Petfinder API.
Adding Unique Keys to Components
02:44:59 - 02:48:43
Adding Unique Keys to Components
React requires a unique key for each component in a list of components. With the key, React is able to reorder elements in the DOM when state is reordered instead of destroy the DOM each time.
Passing Component Data Using Props
02:48:44 - 02:59:02
Passing Component Data Using Props
Render the pet component with more data from the API in order to display the pet image and location. Brian also uses destructuring in the Pet component to make it more easy to know which props are passed into the component.
Routing
Refactor Components for Adding Routing
02:59:03 - 03:06:10
Refactor Components for Adding Routing
Brian chose Reach Router for its accessibility features. Refactor the application to use a Results model to display the pets, and create a simple Details page module.
Component Routing with Reach Router
03:06:11 - 03:10:08
Component Routing with Reach Router
Wrap the Results and Details modules in Reach Router and add routing paths to each of the components.
React Dev Tools
03:10:09 - 03:13:52
React Dev Tools
Inspect components, dand router data through the React Dev Tools.
Routing with Reach Router Link
03:13:53 - 03:19:08
Routing with Reach Router Link
Add a Reach Router Link element to visit the Details page from the search results. Also link the header to the homepage.
Async UI
Render Component from API Data
03:19:09 - 03:32:25
Render Component from API Data
Query the selected animal from the Pet Finder API and display the pet data in the details component.
Remove Class Constructor with Babel
03:32:26 - 03:41:41
Remove Class Constructor with Babel
Brian removes the class constructor so that he can use ES2018 class properties. He does this by including the babel class properties transformation.
Creating a Carousel Component
03:41:42 - 03:56:09
Creating a Carousel Component
Code a Carousel component that shows a primary image next to a list of alternative images of the animal that you will be able to click on to expand. Brian uses the getDerivedStateFromProps lifecycle method to pull the right size image off the media prop object.
Adding Carousel Interactivity
03:56:10 - 04:08:43
Adding Carousel Interactivity
Make the Carousel interactive by adding a click handler to each of the images of the animal in order to expand the alternative images of the animal. Brian discusses how to simplify your render method using derived state from props.
Forms
Adding a Search Input Component
04:08:44 - 04:14:11
Adding a Search Input Component
Create the Search params component containing a label and an input that is accessible from the "/search-params" route.
Handling Input State Change
04:14:12 - 04:23:02
Handling Input State Change
An input will stay the same until you handle the input change events and reflect that in your component state for the input. Brian argues that making you handle input change events in React is a good thing.
Adding a Select List with Options
04:23:03 - 04:29:45
Adding a Select List with Options
Add a select list with types of animals as options. The list of options is populated by an array of constants from the Petfinder API Client.
Turning Off ESLint Rules
04:29:46 - 04:31:41
Turning Off ESLint Rules
Despite following good accessibility practices, ESLint is giving us an error. Brian shows how you can turn off individual ESLint rules. He also turns console.log errors into warnings in ESLint.
Adding an Input from API Data
04:31:42 - 04:47:51
Adding an Input from API Data
Populate a select list of options based on the returned list of breeds from the Petfinder API based on the animal you have selected. Call getBreeds from the API after calling setState with the animal you have selected.
Q&A
04:47:52 - 05:02:07
Q&A
The audience questions about JSX, auto completion, code organization, wrapping inputs in a form element, named exports vs default exports and binding this in the render method. Brian explains why you should use arrow methods for event handlers on the component class.
Context
The Problem of Sharing State
05:02:08 - 05:06:23
The Problem of Sharing State
A tour through the issue with sharing state between components. In the React v4 git repository, Brian shows how you can structure sharing state between components without using the context feature that ships with React 16.3+.
Spread Operator & Passing Props
05:06:24 - 05:11:37
Spread Operator & Passing Props
Passing properties using the JSX spread operator comes with some problems. Brian argues that it you should type out the specific properties you want to pass to child components instead of using the spread operator to pass an entire object through.
Intro to Context
05:11:38 - 05:15:00
Intro to Context
Context is universal data for your application. The context API solves the issue of sharing component state. Instead of passing properties through intermediary components that don't care about the props (known as the "prop drilling"), you can wrap components in a Context.
React createContext
05:15:01 - 05:19:41
React createContext
Create a new search context with React.createContext. This gives you both a Consumer and a Provider, that acts as a portal to put data into the Provider and it comes out in the Consumer.
Using the Provider
05:19:42 - 05:25:52
Using the Provider
Define the default state and methods which were outlined in the Context on the App component. Pass the App component's state to the Provider. Finally, wrap all the components in the Provider so that they have access to the search context.
Using the Consumer
05:25:53 - 05:32:07
Using the Consumer
Use components with shared behavior by using a Consumer. The Consumer exposes context that was set by the Provider. In this case, the context exposed by the Consumer is the state of the App component.
Context Q&A
05:32:08 - 05:37:21
Context Q&A
The audience asks architectural questions about using Context, like using multiple contexts with multiple Consumer and Providers.
Using the Component Anywhere
05:37:22 - 05:44:54
Using the Component Anywhere
Now that the component uses the Consumer component that shares application state through the context, you now have a self-contained component that can be used anywhere inside the application as long as it's wrapped in the Provider.
Debugging React Errors
05:44:55 - 05:47:01
Debugging React Errors
Brian shows you a simple debugging technique in React and how to get started debugging. He also refers you to look up Error Boundaries if you'd like to more elegantly handle errors.
Using Context in Lifecycle Methods
05:47:02 - 05:59:55
Using Context in Lifecycle Methods
So far we used context only when inside the render method. To use context inside lifecycle methods, you’ll need to wrap the component in the Consumer before exporting the module.
Fixing Routing
05:59:56 - 06:04:56
Fixing Routing
Make the Search Params page form work, along with adding navigation to the Search Params page.
Context Wrap Up & Questions
06:04:57 - 06:07:06
Context Wrap Up & Questions
Brian wraps up context by saying it's one of the most difficult things to understand in core React. He also discusses when it makes sense to use context or not.
Portals
Portals
06:07:07 - 06:12:42
Portals
Modal windows have traditionally been difficult with React, since you have to render content in a different place. This is why React 16 created the concept of Portals, so you can have a component that renders wherever it needs to.
this.props.children
06:12:43 - 06:14:01
this.props.children
All components have a special property "children" which is all of the components immediately inside of a parent component.
Rendering to the Portal
06:14:02 - 06:21:09
Rendering to the Portal
By using the Portal, we can now render html and events just like a normal React component inside the render method, but this time the rendering actually happens on a completely different part of the page where the Portal is attached.
Conclusion
React Refs
06:21:10 - 06:23:56
React Refs
Use a React ref to reference an element within the React tree outside of React.
Integrating with 3rd Party Libraries
06:23:57 - 06:28:17
Integrating with 3rd Party Libraries
Example of how to integrate with 3rd party libraries like d3, jQuery plugins, or etc.
shouldComponentUpdate
06:28:18 - 06:31:24
shouldComponentUpdate
You can take control over when React components update with shouldComponentUpdate. This can be used for performance optimizations, but should be used carefully and only if absolutely necessary.
Lifecycle Methods
06:31:25 - 06:35:33
Lifecycle Methods
Brian takes a tour through the lifecycle methods available on a component. The most common methods you'll be using is componentDidMount and getDerivedStateFromProps.
Profiling React
06:35:34 - 06:38:00
Profiling React
Use the dev tools performance profiling to debug slow parts of your React application.
Final Thoughts
06:38:01 - 06:39:16
Final Thoughts
Congratulations on learning the entire core React library and the fundamental building blocks of React. Brian has more advanced topics in his follow up course, "Intermediate React".
Prelude & Git Setup
00:00:00 - 00:07:17
Prelude & Git Setup
Brian explains the differences between the Complete Intro to React version 3 versus version 4 of the course. He also gives a tour of how to get setup with the code with git and how to get reset with the code at any point in the course. - _https://bit.ly/react-v4
Course Introduction
00:07:18 - 00:12:27
Course Introduction
Brian introduces himself and gives his background with React in launching the React code at Reddit. Brian also gives an overview of why he likes React. - _https://btholt.github.io/complete-intro-to-react-v4/intro
Pure React
Setup index.html
00:12:28 - 00:16:05
Setup index.html
Brian sets up an index.html using VS Code's built in emmet integration. We'll be building a Pet Finder application throughout the workshop.
Including React
00:16:06 - 00:20:56
Including React
Add a root element that React will render components into. Also include the React and ReactDOM script files from the unpkg CDN.
Add CSS File
00:20:57 - 00:24:14
Add CSS File
Add the CSS file included in the course code repository. Open the console to see that React is loaded.
App Function & Editor Ligatures
00:24:15 - 00:27:40
App Function & Editor Ligatures
Create an arrow function and assign it to the App variable. When he writes the arrow function, the font is combined into a symbol which is enabled by font ligatures. Brian shows how he enabled them.
Your First Component
00:27:41 - 00:33:34
Your First Component
Create a div and h1 element that renders React into the webpage. Brian uses a stamp analogy to explain how you can reuse the components you build throughout your app.
Making a Reusable Component
00:33:35 - 00:39:10
Making a Reusable Component
Create a Pet component that can be stamped out onto the page any number of times.
Passing Component Props
00:39:11 - 00:42:07
Passing Component Props
Make the Pet component more flexible by passing props to the component.
Class vs Function Component
00:42:08 - 00:44:43
Class vs Function Component
Convert the App component into a class component. You can use function components for components that don't need the more powerful parts of React like state and lifecycle methods.
Adding a Click Handler
00:44:44 - 00:48:45
Adding a Click Handler
Add a click event to the title that calls a method in the component class. Brian discusses why this approach in React of having all markup and event handling in the component vs spread amongst other modules is good for debugging.
React Tooling
npm
00:48:46 - 00:54:13
npm
Brian introduces npm which is used to install both front-end and back-end JavaScript modules with Node.js. Start by creating a package.json file b using the "init -y" command.
Installing Prettier for Code Formatting
00:54:14 - 01:00:42
Installing Prettier for Code Formatting
Use npm to install the prettier node module. Running prettier from the command line allows you to format the code according to the prettier default formatting rules.
Adding Prettier into Your Editor
01:00:43 - 01:04:25
Adding Prettier into Your Editor
Make your code editor run prettier for format the code every time you save a file.
Adding Prettier CLI Script
01:04:26 - 01:10:27
Adding Prettier CLI Script
Create a command line script to format code with prettier. This script can be ran by your CI system or developers who don't have prettier integrated into their editor. Add the format script to your package.json.
Adding ESLint for Code Quality
01:10:28 - 01:18:38
Adding ESLint for Code Quality
ESLint is another tool to assist with code quality that works nicely alongside Prettier. ESLint handles JavaScript coding standards on top of Prettier's code formatting rules.
Adding an ESLint CLI Script
01:18:39 - 01:28:39
Adding an ESLint CLI Script
Create a command line script to run ESLint rules on your JavaScript and JSX files.
Parcel
Webpack vs Parcel
01:28:40 - 01:32:24
Webpack vs Parcel
Introduction to Parcel, a zero configuration build tool. Brian still uses Webpack for large projects, but chooses Parcel for this course because it simplifies setup.
Parcel
01:32:25 - 01:36:30
Parcel
Add a script to start Parcel and server your React app from localhost.
Installing React from npm with Parcel
01:36:31 - 01:41:06
Installing React from npm with Parcel
Include React and ReactDOM from the npm registry automatically with Parcel. This should blow your mind a little bit.
Extracting Component Module
01:41:07 - 01:44:40
Extracting Component Module
Brian uses some VS Code magic to extract the Pet component to it's own module. Parcel imports and composes the modules together to deliver to the browser.
JSX
Writing a Component in JSX
01:44:41 - 01:55:04
Writing a Component in JSX
JSX is a way to write HTML that gets translated into React createElement calls to generate the HTML with JavaScript. Refactor the Pet component to use JSX. Also learn how to use attributes in JSX.
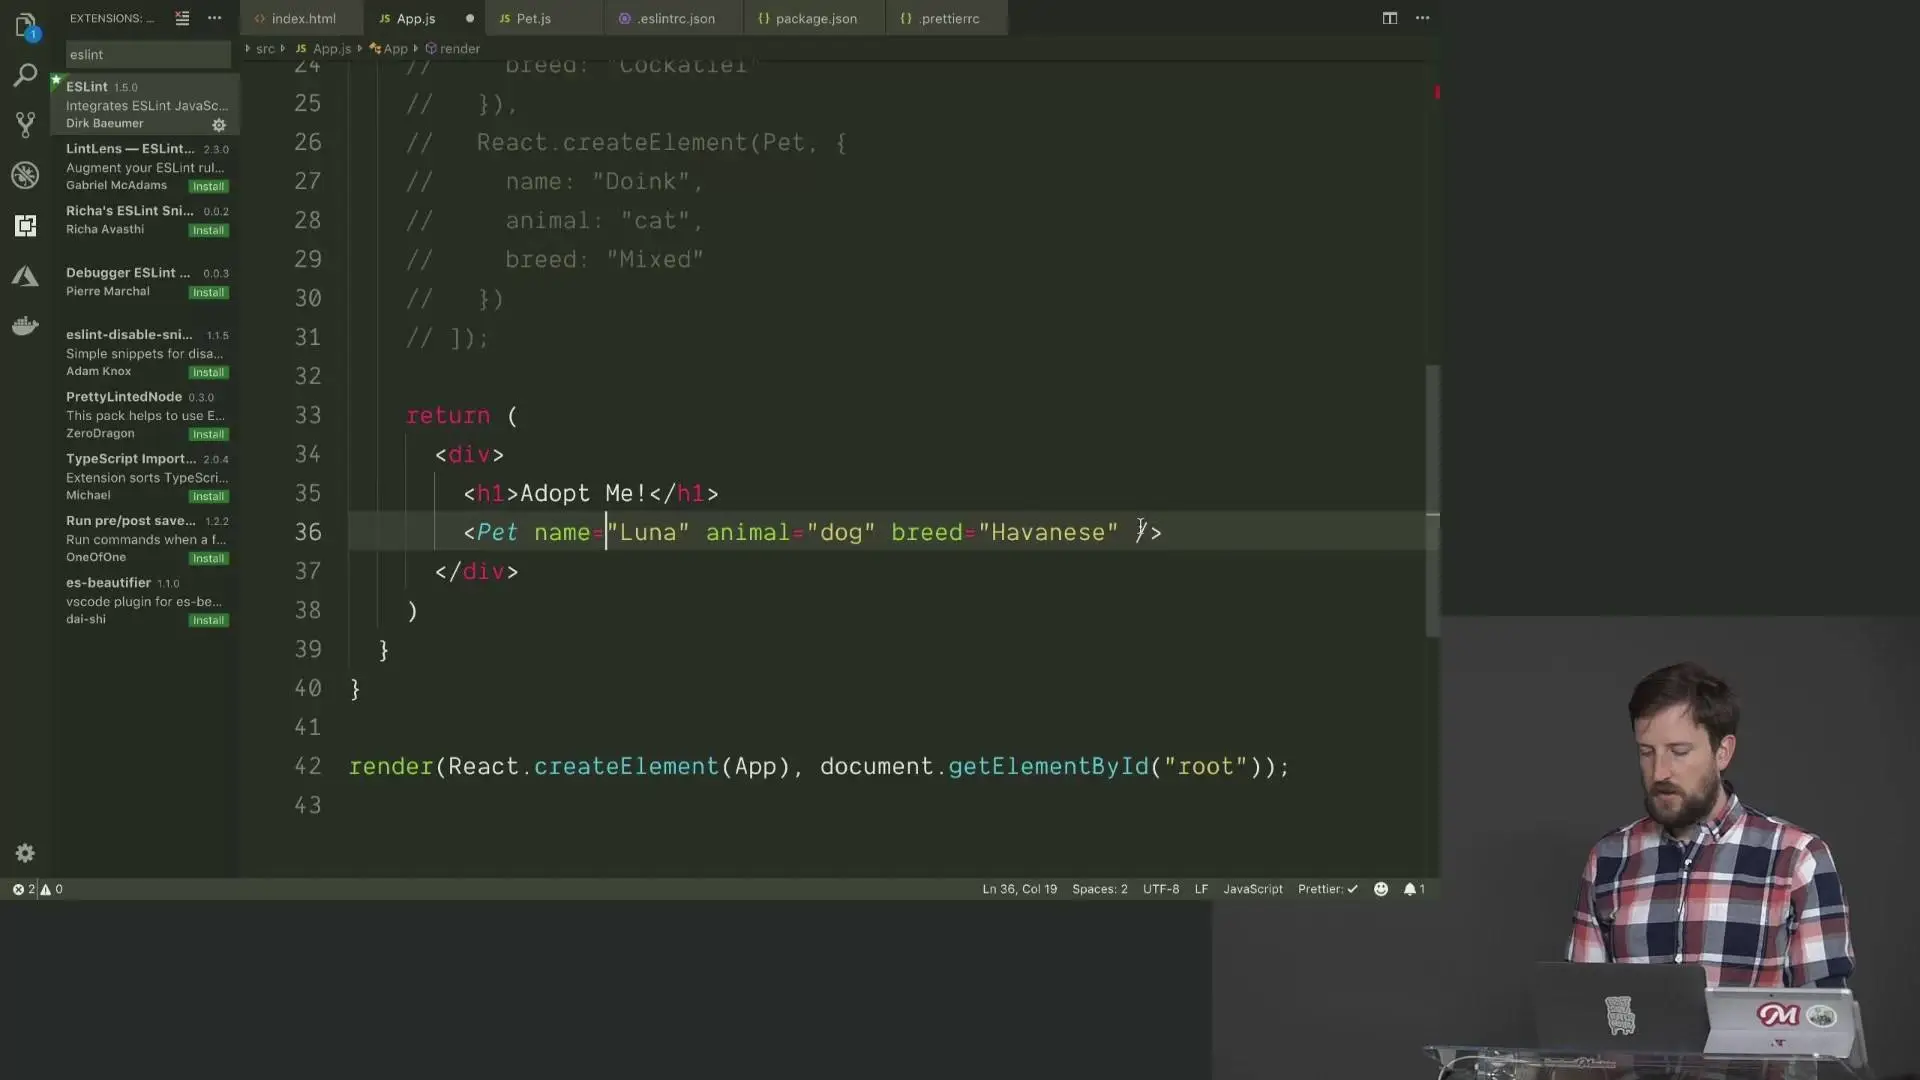
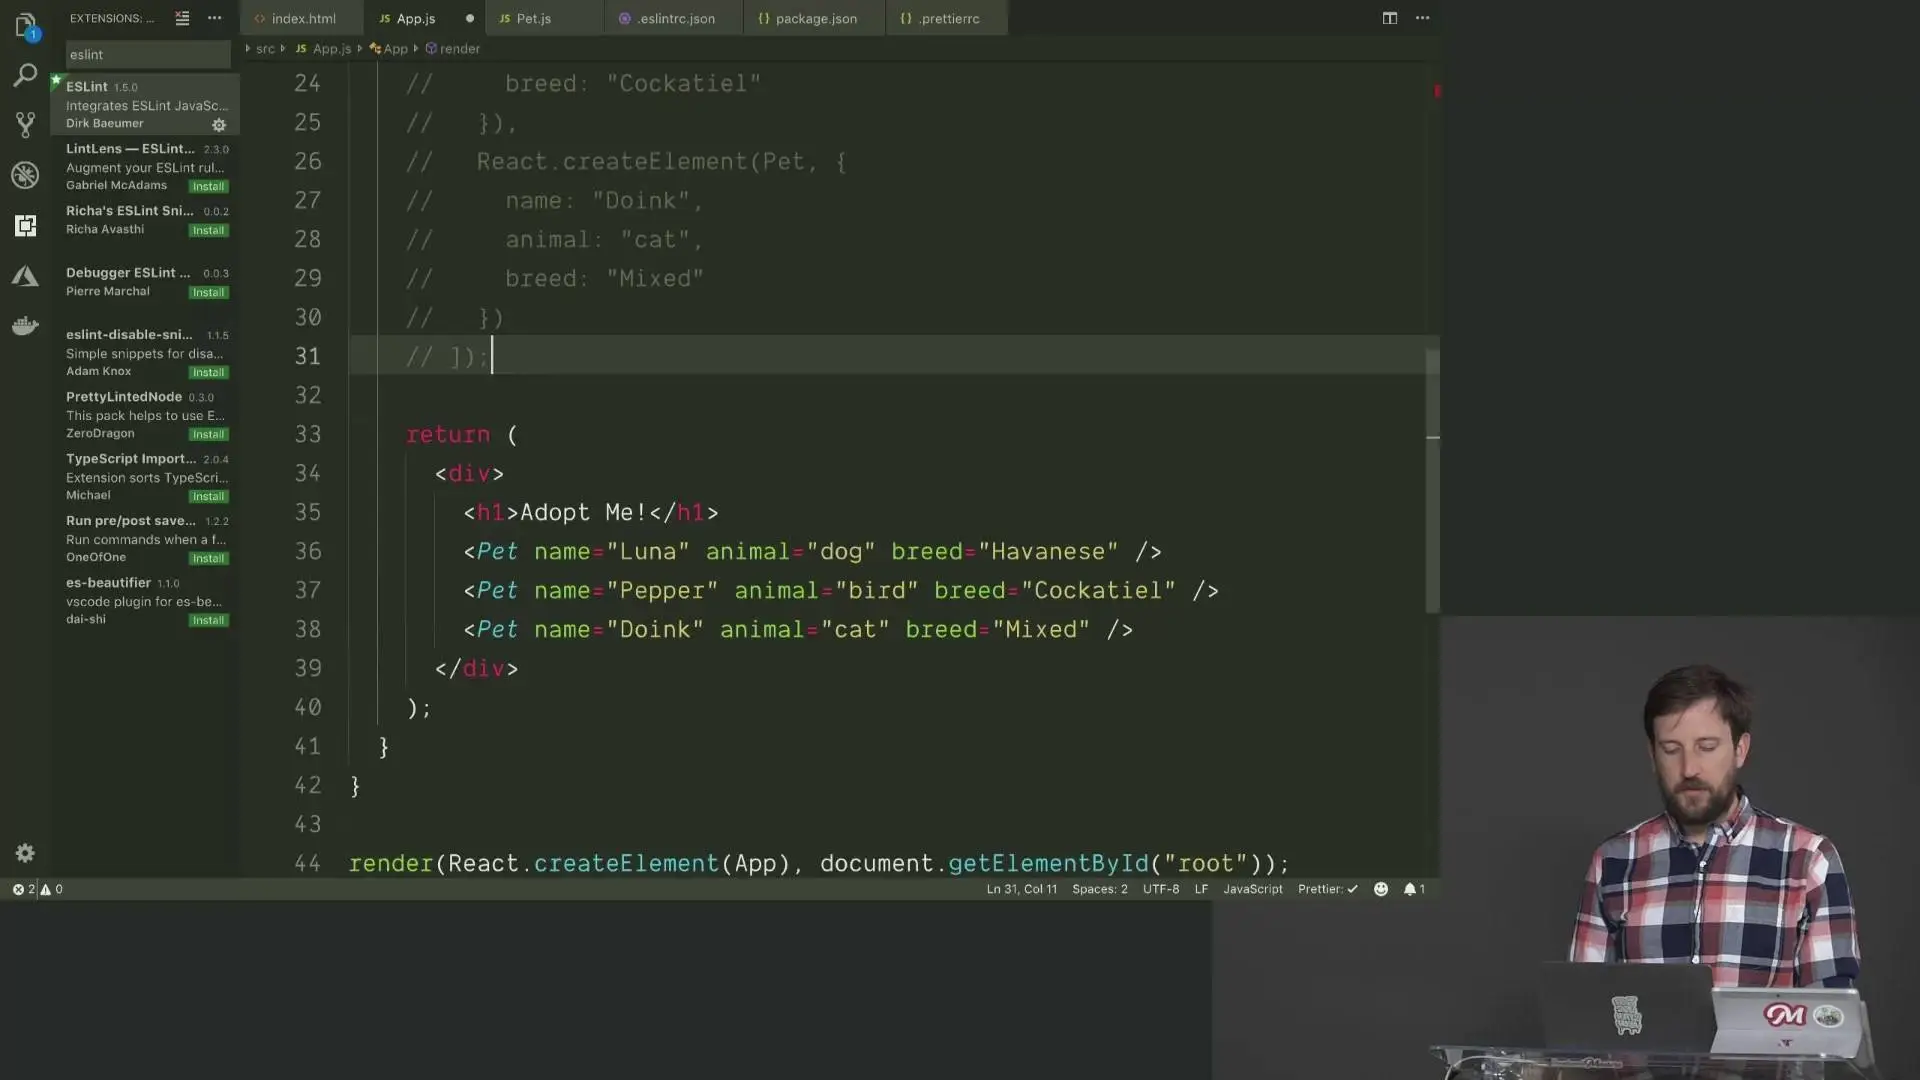
Writing the App in JSX
01:55:05 - 02:01:29
Writing the App in JSX
Convert the App component to using JSX. Reuse the Pet component in JSX and pass props to it.
Configuring ESLint with React
02:01:30 - 02:14:32
Configuring ESLint with React
Add the ESLint plugins to catch common errors in React. Also install the ESLint accessibility plugin to catch things that will cause your application to be inaccessible to those with disabilities.
Rendering Data
Setup the Petfinder API Keys
02:14:33 - 02:19:56
Setup the Petfinder API Keys
Make a new Petfinder API key and API Secret to then add it to your .env file which will be read by Parcel.
Using the Petfinder API Client
02:19:57 - 02:27:49
Using the Petfinder API Client
In the componentDidMount lifecycle method in the App component, fetch pets from the Petfinder API client and log the results.
Set Component State form API Results
02:27:50 - 02:37:17
Set Component State form API Results
Initialize component state in the class constructor. Then after pulling pets from the API, update pets state on the component with the React setState method.
Debug Component State in React
02:37:18 - 02:39:23
Debug Component State in React
Learn to debug component state in React using the JSON.stringify method.
Rendering List of Components
02:39:24 - 02:44:58
Rendering List of Components
Map over the pets and render components with the pet data returned from the Petfinder API.
Adding Unique Keys to Components
02:44:59 - 02:48:43
Adding Unique Keys to Components
React requires a unique key for each component in a list of components. With the key, React is able to reorder elements in the DOM when state is reordered instead of destroy the DOM each time.
Passing Component Data Using Props
02:48:44 - 02:59:02
Passing Component Data Using Props
Render the pet component with more data from the API in order to display the pet image and location. Brian also uses destructuring in the Pet component to make it more easy to know which props are passed into the component.
Routing
Refactor Components for Adding Routing
02:59:03 - 03:06:10
Refactor Components for Adding Routing
Brian chose Reach Router for its accessibility features. Refactor the application to use a Results model to display the pets, and create a simple Details page module.
Component Routing with Reach Router
03:06:11 - 03:10:08
Component Routing with Reach Router
Wrap the Results and Details modules in Reach Router and add routing paths to each of the components.
React Dev Tools
03:10:09 - 03:13:52
React Dev Tools
Inspect components, dand router data through the React Dev Tools.
Routing with Reach Router Link
03:13:53 - 03:19:08
Routing with Reach Router Link
Add a Reach Router Link element to visit the Details page from the search results. Also link the header to the homepage.
Async UI
Render Component from API Data
03:19:09 - 03:32:25
Render Component from API Data
Query the selected animal from the Pet Finder API and display the pet data in the details component.
Remove Class Constructor with Babel
03:32:26 - 03:41:41
Remove Class Constructor with Babel
Brian removes the class constructor so that he can use ES2018 class properties. He does this by including the babel class properties transformation.
Creating a Carousel Component
03:41:42 - 03:56:09
Creating a Carousel Component
Code a Carousel component that shows a primary image next to a list of alternative images of the animal that you will be able to click on to expand. Brian uses the getDerivedStateFromProps lifecycle method to pull the right size image off the media prop object.
Adding Carousel Interactivity
03:56:10 - 04:08:43
Adding Carousel Interactivity
Make the Carousel interactive by adding a click handler to each of the images of the animal in order to expand the alternative images of the animal. Brian discusses how to simplify your render method using derived state from props.
Forms
Adding a Search Input Component
04:08:44 - 04:14:11
Adding a Search Input Component
Create the Search params component containing a label and an input that is accessible from the "/search-params" route.
Handling Input State Change
04:14:12 - 04:23:02
Handling Input State Change
An input will stay the same until you handle the input change events and reflect that in your component state for the input. Brian argues that making you handle input change events in React is a good thing.
Adding a Select List with Options
04:23:03 - 04:29:45
Adding a Select List with Options
Add a select list with types of animals as options. The list of options is populated by an array of constants from the Petfinder API Client.
Turning Off ESLint Rules
04:29:46 - 04:31:41
Turning Off ESLint Rules
Despite following good accessibility practices, ESLint is giving us an error. Brian shows how you can turn off individual ESLint rules. He also turns console.log errors into warnings in ESLint.
Adding an Input from API Data
04:31:42 - 04:47:51
Adding an Input from API Data
Populate a select list of options based on the returned list of breeds from the Petfinder API based on the animal you have selected. Call getBreeds from the API after calling setState with the animal you have selected.
Q&A
04:47:52 - 05:02:07
Q&A
The audience questions about JSX, auto completion, code organization, wrapping inputs in a form element, named exports vs default exports and binding this in the render method. Brian explains why you should use arrow methods for event handlers on the component class.
Context
The Problem of Sharing State
05:02:08 - 05:06:23
The Problem of Sharing State
A tour through the issue with sharing state between components. In the React v4 git repository, Brian shows how you can structure sharing state between components without using the context feature that ships with React 16.3+.
Spread Operator & Passing Props
05:06:24 - 05:11:37
Spread Operator & Passing Props
Passing properties using the JSX spread operator comes with some problems. Brian argues that it you should type out the specific properties you want to pass to child components instead of using the spread operator to pass an entire object through.
Intro to Context
05:11:38 - 05:15:00
Intro to Context
Context is universal data for your application. The context API solves the issue of sharing component state. Instead of passing properties through intermediary components that don't care about the props (known as the "prop drilling"), you can wrap components in a Context.
React createContext
05:15:01 - 05:19:41
React createContext
Create a new search context with React.createContext. This gives you both a Consumer and a Provider, that acts as a portal to put data into the Provider and it comes out in the Consumer.
Using the Provider
05:19:42 - 05:25:52
Using the Provider
Define the default state and methods which were outlined in the Context on the App component. Pass the App component's state to the Provider. Finally, wrap all the components in the Provider so that they have access to the search context.
Using the Consumer
05:25:53 - 05:32:07
Using the Consumer
Use components with shared behavior by using a Consumer. The Consumer exposes context that was set by the Provider. In this case, the context exposed by the Consumer is the state of the App component.
Context Q&A
05:32:08 - 05:37:21
Context Q&A
The audience asks architectural questions about using Context, like using multiple contexts with multiple Consumer and Providers.
Using the Component Anywhere
05:37:22 - 05:44:54
Using the Component Anywhere
Now that the component uses the Consumer component that shares application state through the context, you now have a self-contained component that can be used anywhere inside the application as long as it's wrapped in the Provider.
Debugging React Errors
05:44:55 - 05:47:01
Debugging React Errors
Brian shows you a simple debugging technique in React and how to get started debugging. He also refers you to look up Error Boundaries if you'd like to more elegantly handle errors.
Using Context in Lifecycle Methods
05:47:02 - 05:59:55
Using Context in Lifecycle Methods
So far we used context only when inside the render method. To use context inside lifecycle methods, you’ll need to wrap the component in the Consumer before exporting the module.
Fixing Routing
05:59:56 - 06:04:56
Fixing Routing
Make the Search Params page form work, along with adding navigation to the Search Params page.
Context Wrap Up & Questions
06:04:57 - 06:07:06
Context Wrap Up & Questions
Brian wraps up context by saying it's one of the most difficult things to understand in core React. He also discusses when it makes sense to use context or not.
Portals
Portals
06:07:07 - 06:12:42
Portals
Modal windows have traditionally been difficult with React, since you have to render content in a different place. This is why React 16 created the concept of Portals, so you can have a component that renders wherever it needs to.
this.props.children
06:12:43 - 06:14:01
this.props.children
All components have a special property "children" which is all of the components immediately inside of a parent component.
Rendering to the Portal
06:14:02 - 06:21:09
Rendering to the Portal
By using the Portal, we can now render html and events just like a normal React component inside the render method, but this time the rendering actually happens on a completely different part of the page where the Portal is attached.
Conclusion
React Refs
06:21:10 - 06:23:56
React Refs
Use a React ref to reference an element within the React tree outside of React.
Integrating with 3rd Party Libraries
06:23:57 - 06:28:17
Integrating with 3rd Party Libraries
Example of how to integrate with 3rd party libraries like d3, jQuery plugins, or etc.
shouldComponentUpdate
06:28:18 - 06:31:24
shouldComponentUpdate
You can take control over when React components update with shouldComponentUpdate. This can be used for performance optimizations, but should be used carefully and only if absolutely necessary.
Lifecycle Methods
06:31:25 - 06:35:33
Lifecycle Methods
Brian takes a tour through the lifecycle methods available on a component. The most common methods you'll be using is componentDidMount and getDerivedStateFromProps.
Profiling React
06:35:34 - 06:38:00
Profiling React
Use the dev tools performance profiling to debug slow parts of your React application.
Final Thoughts
06:38:01 - 06:39:16
Final Thoughts
Congratulations on learning the entire core React library and the fundamental building blocks of React. Brian has more advanced topics in his follow up course, "Intermediate React".
also You can watch my other last: Programming-posts
Screenshots

Complete Intro to React v4 (2018)

Complete Intro to React v4 (2018)
Complete Intro to React v4 (2018)

Complete Intro to React v4 (2018)

Exclusive eLearning Videos ParRus-blog ← add to bookmarks

Complete Intro to React v4 (2018)
