


cmiVFX: Fusion Procedural Shading Networks
cmiVFX: Fusion Procedural Shading Networks
English | MP4 | 1024x576 12.00 fps | aac 22050Hz mono | 626 Mb
Genre: eLearning
With the latest release of Eyeon's Fusion 6.1 Compositing Software, GPU based 3d compositing has never been so important. This new training video takes you through an entire car commercial project shot utilizing the latest GPU accelerated compositing techniques. Real time reflections and shadows help take compositing speeds to their fastest ever when working in a client driven environment.
Fusion 6.1 accelerates from the starting line with astounding GPU optimizations, local file caches and particle solution caching. The creative horizon expands with new tools for managing grain, color correction and handling metadata. Scripters will rejoice at the inclusion of native python support, and everyone benefits from the many enhancements to particles.
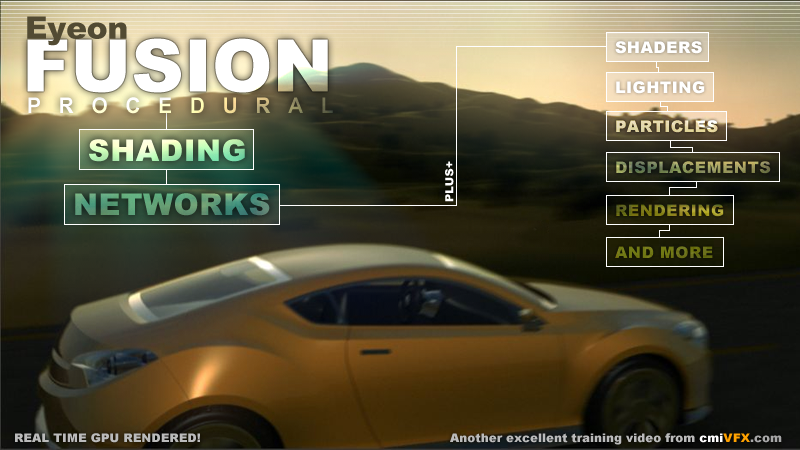
Shading the Car
We will start by importing a 3d car model. This model is split up into different parts so that they can be shaded individually. The hull will be coloured by a bright shiny yellow shader while other parts will be shaded to look like chrome or black rubber.
Mesh Displacement
To give the car an environment we will start building up a terrain. Using fast noise as a base for the topology we will start to carve a landscape into the mesh of a plane.
Speed Control via Expressions
If we were animating the car to drive at great speeds we would need to build a lot of environment. To prevent that we animate the terrain instead. Via some simple expressions we will build a controller to adjust the speed the landscape is moving by.
Green Field Approach
Now that we have setup the terrain we also have to create a shader that corresponds to the environment we want to create. Adjusting the color of the fast noise is only one part, more detail in the ground is created through a bump map and adjustments in the falloff.
Constructing a Road
We also need a road where the car can drive on. Using a simple text tool as a simple trick to create a doted center line we will also merge this shader with our terrain shader.
Particle Vegetation
The landscape still comes across a bit bare - what is missing? Vegetation. Using fusions particle system we will populate the terrain with different trees and brush. It is important that the trees sit on our hilly mesh and that they don't grow on the road.
Particle Control
Now that we have trees in our environment. It is important that they move along at the same speed as the terrain. Also their particle lifespan can be a lot shorter as the speed of the terrain increases. This is a measure to keep performance up and will be handled through expressions to our main speed controller.
Sky Dome
To complete the environment we have to give our scene a sky. Using the day sky tool we will create a slightly murky sunset that will cover our sky dome and create a great atmosphere enhancing the whole scene.
Reflection Map
Having completed our virtual environment we will go back to adjust our car shaders. Since they are nice and shiny we want them to reflect our environment. This will be achieved by setting up a camera rig capturing 360 degrees of our scene from the position of the car, a complete environment map.
Blurring the Wheels
Often it can be tricky to get the right amount of motion blur on the wheels (very long render times). Here is a little cheat that can create an effective mock up at least for some situations.
Lights & Renderers
Now to complete the setup we are going to add some lights to the scene. We are also going to set up separate lights to light the car. In fact we are going to split up the render into different parts so that we still have an easy option to correct colours and or add effects.