


AD6 – Adding Texture in Affinity Designer
AD6 – Adding Texture in Affinity Designer
Last updated 2022-12-25
Duration: 50:43 | .MP4 1280x720, 30 fps(r) | AAC, 44100 Hz, 2ch | 1.04 GB
Genre: eLearning | Language: English [Auto]
Last updated 2022-12-25
Duration: 50:43 | .MP4 1280x720, 30 fps(r) | AAC, 44100 Hz, 2ch | 1.04 GB
Genre: eLearning | Language: English [Auto]
Create, Import, Add Textures to Your Assets, and Apply and Alter on Motifs
What you'll learn
to add a bitmap fill with the fill tool
applying textures as layers and using multiple layers for effects
importing texture fills to add to assets library
about blend modes to apply textures
recoloring imported textures
Requirements
Recommended: AD1-5 by Delores Naskrent for a solid foundation
Description
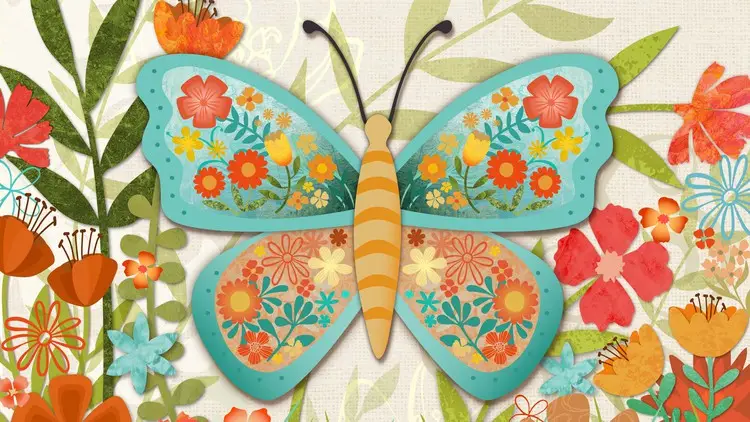
This class, Affinity Designer 6 – Texture in Affinity Designer, is the 3rd in a 3-part series to introduce you to the Affinity Designer software (6th in sequential order of all DeloresArt AD classes). We created the butterfly (or whatever!) in the first 2 classes and this class is where we will add all kinds of texture. There are different methods, of course, and I want to show you a bunch. Naturally, I am going to tie in a lot of ideas that I implemented. I will even provide you with a texture pack I have created for you.
At the end, you will have a finished illustration ready for printing and hanging, or selling on a POD site, if that is your desire.
In this class I’ll walk you through:
adding a bitmap fill with the fill tool
importing texture fills to add to assets library
applying textures as layers and using multiple layers for effects
using blend modes to apply textures
recoloring imported textures
Adding bitmap fills into vector documents is another import skill to learn, and my guidance will help you through the questions you may have. This class will benefit anyone looking to add more depth to their knowledge of vector illustrations.
The key concepts I will include:
layer management and efficiencies
why asset collections are imperative in Affinity Designer
finishing techniques like adding depth and dimension with effects
Learning to soften the look of vectors in Affinity Designer is a valuable skill. Adding to your knowledge of vector software workflows is ideal in our profession and important for you to learn. We will do it, step-by-step, and think of further applications in future classes.
Intro to Affinity Designer 6 – Texture in Affinity Designer
This short intro will give you an overview of the class.
Lesson 1: Reviewing My Document for ldeas
In this lesson I will show you a ton of inspiration. I explain ways in which I source textures and make suggestions for how you can create a texture pack of your own.
Lesson 2: lmporting My Texture and Finding More
In this lesson, I go show you the entire process of importing the assets I have supplied for you as a texture pack. I also encourage you to go out and shoot a few more or scan them. Either way, adding to your asset library is great preparation for the future.
Lesson 3: Applying Chosen Texture as a Layer
My goal for this lesson is to show you all the ways I can think of to affect the color of the textures we import. I show you with blending modes and with changing the underlying shape, as well as a few other pointers, like using the FX Studio.
Lesson 4: Applying Texture as Bitmap Fill
We will work through the fill tool settings in this lesson. There are some surprising controls for this tool. I will demonstrate as many as I can.
Lesson 5: Gradients with Texture and Blend Modes
This lesson is filled with a multitude of ideas to help you get exactly the fill and texture you want on each motif. We explore many different methods in combination with the use of blend modes to achieve many results.
Lesson 6: Background and Effects Application
In this lesson, I show you many alternate methods to add details. I place many of the assets I need to fill out my design, all the while explaining my rationale. I show you a few ideas I have. I also explain, in detail, about organization of your layers. The final step is in adding special effects; in this case it is drop shadows for all the relevant layers.
Lesson 7: Conclusion and Wrap Up
We will conclude everything about this stage of the design process in this lesson. I gift you a bit of a pep talk. I talk about what I think is so great about Affinity Designer and we end with a chat about next steps.
Concepts covered:
Concepts covered include but are not limited to the Affinity Designer Asset Studio, sourcing textures, Affinity Designer Vector Persona, Affinity Designer Raster Persona, layering, Affinity Designer Symbol Studio, Affinity Designer Transform Studio, Affinity Designer canvas settings, importing and applying textures, Affinity Designer composites, Affinity Designer Color Studio, Affinity Designer Transform Studio, Affinity Designer Texture and import of royalty free images, Affinity Designer FX studio, shapes, color swatches and importing colors, texture bitmap fills, and much more.
You will get …
51 minutes of direction from an instructor who has been in graphic design business and education for over 40 years
knowledge of multiple ways to solve each design challenge
a free mockup on which you can show your beautiful patterns
Project Description
Now you are at the final stage with your illustration, and this is how you will give it that added touch. Add textures wherever you see fit. Remember to keep in mind your color scheme and make sure the colors you choose work with your design. Challenge yourself to be sure your foreground really stands out from your background. Use whatever effects seem appropriate to do so.
Who this course is for:
Students wishing to learn vector art on the iPad with Affinity Designer
More Info