

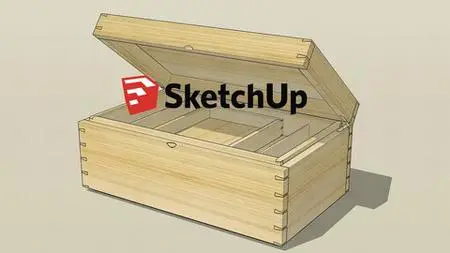
Sketchup For Woodworkers: Bring Your Designs To Life In 3D
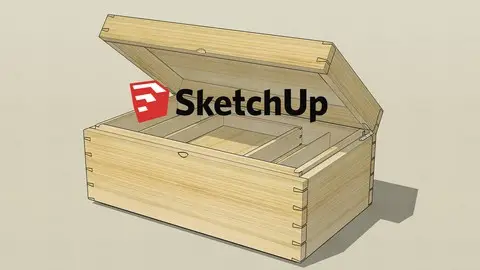
Sketchup For Woodworkers: Bring Your Designs To Life In 3D
Last updated 3/2021
MP4 | Video: h264, 1280x720 | Audio: AAC, 44.1 KHz
Language: English | Size: 1.26 GB | Duration: 3h 34m
Last updated 3/2021
MP4 | Video: h264, 1280x720 | Audio: AAC, 44.1 KHz
Language: English | Size: 1.26 GB | Duration: 3h 34m
Learn professional techniques which make even complex projects easy to model in SketchUp.
What you'll learn
Update: link to free SketchUp basic lectures added February 2018
Bring your design ideas to life in 3D with SketchUp
Learn to try out different ideas quickly and easily by making edits to your models
Go way beyond the free videos and learn how to build SketchUp models the professional way
Cut drawing times in half, literally, with a simple mirror method
Learn why its so important to build your model in situ
Learn how you can model even complex shapes with a simple technique
Learn to draw something once, and use it again and again and again, saving hours
Requirements
A computer with either SketchUp Make or SketchUp Pro installed on it
A basic knowledge of SketchUp drawing and editing tools
SketchUp Make 2017 is still available as a free download, on the Sketchup website with /download/all added, then login
Description
Let me teach you the basic methods I use in SketchUp as a professional illustrator and designer with 20 years experience in woodworking magazines!I have drawn thousands of woodworking projects for magazines in the UK, US and Europe, and currently illustrate 2 top UK titles, Furniture and Cabinetmaking and Woodworking Crafts.SketchUp has been a big part of this process. It is a great drawing program, and although its hard to find, you can still download the FREE version called SketchUp Make. Just in case you are having trouble finding Sketch Make, the free version you can install on your computer, search for SketchUp Make in Google and follow the instructions. This is a different and much more powerful version of SketchUp to the online browser based SketchUp Free.Learning the basic tools is just the start though. You can save yourself so much time and effort by using a few simple methods I show you in the course.Using these techniques, you will find it much easier to design and draw your own projects!Drawing in 3D can be huge fun, seeing something you have imagined coming to life. It can also be a bit daunting at first, and without a clear structure to guide you, its possible to get a bit lost. This is why you need my course.(Update, February 2018: link for students who want to learn basics first added)
Overview
Section 1: Designing and drawing
Lecture 1 Welcome to SketchUp for Woodworkers
Lecture 2 Design Ideas; doing a bit research before you start
Lecture 3 Free basic SketchUp course available here…
Lecture 4 Viewing your model
Lecture 5 Components and Groups
Lecture 6 Positioning Objects in SketchUp
Lecture 7 Changing Sizes
Lecture 8 Changing Colour and Number
Lecture 9 Keyboard shortcuts; a few of the most popular ones which can save lots of time.
Section 2: Building a Toolbox 1; Outline design
Lecture 10 Building a toolbox: Introduction
Lecture 11 Outline Box; start the design process in SketchUp with overall shape and size
Lecture 12 Use your outline design as a template to start the construction of details
Lecture 13 Front and Side Worksheet
Lecture 14 Setting up dovetails is easy and adds realistic detail to your outline design
Lecture 15 Set Up Dovetails Worksheet
Section 3: Building a toolbox 2: Carcass and Linings
Lecture 16 Cutting dovetails; if only it was this quick and easy in the workshop!
Lecture 17 Cutting Dovetails Worksheet
Lecture 18 Marking out the sockets; get out the virtual pencil to finish your dovetails
Lecture 19 Marking Out Worksheet
Lecture 20 Making the top: create a top with a tongue using the Push/Pull tool
Lecture 21 Making the Top Worksheet
Lecture 22 Cutting the top grooves by drawing rectangles on the top and pasting in place
Lecture 23 Cutting Top Grooves Worksheet
Lecture 24 Cutting the bottom grooves using a great mirroring technique
Lecture 25 Cutting Bottom Grooves Worksheet
Lecture 26 Make the bottom of the toolbox in one easy move and edit!
Lecture 27 Creating the Bottom Worksheet
Lecture 28 Splitting the side or get the virtual saw out
Lecture 29 Splitting the Side Worksheet
Lecture 30 Splitting the front or a bit more cutting with the virtual saw!
Lecture 31 Splitting the Front Worksheet
Lecture 32 Creating the linings; more drawing once, using twice
Lecture 33 Creating the Linings Worksheet
Section 4: Building a Toolbox 3: the main tray
Lecture 34 Main tray side and front: streamlining the Copy and Flip techniques
Lecture 35 Main tray dovetails plus a few keyboard shortcuts
Lecture 36 Main tray bottom and grooves: introducing the powerful Intersect Faces option
Lecture 37 Adding dividers, and what on earth is a tangent arc?
Section 5: Building a toolbox 4: Small Tray
Lecture 38 Small tray sides and building a grid with guidelines
Lecture 39 Model the small tray dovetails
Lecture 40 Small tray bottom and grooves, finishing (almost) the construction
Section 6: Building a toolbox 5: Finishing off and refining the details
Lecture 41 Holes in the main tray ends
Lecture 42 Filling in the jigsaw pieces
Lecture 43 There's more than one way to chamfer a top. Two in fact.
Lecture 44 Rounding over the outer edges of the main tray
Lecture 45 Starting the finger pull
Lecture 46 Finishing the finger pull
Section 7: Presentation and Output;
Lecture 47 Styles - An overview of setting up and editing styles
Lecture 48 Styles - Lines (or Edges as SketchUp calls them)
Lecture 49 Applying materials
Lecture 50 Working with wood grain
Lecture 51 Scenes; how to use scenes to display your model, including animation
Lecture 52 Adding Dimensions
Lecture 53 Output: some of the great alternative ways to present and share your model
Section 8: The next steps
Lecture 54 Bonus lecture: additional drawing resources at my LineMine website
Anyone who wants to design small scale projects with SketchUp,Any woodworker who wants to present a project to clients and public in 3D