


Landslide Risk Analysis With Arcgis Desktop (Ahp Method)
Landslide Risk Analysis With Arcgis Desktop (Ahp Method)
Published 8/2023
MP4 | Video: h264, 1280x720 | Audio: AAC, 44.1 KHz
Language: English | Size: 3.52 GB | Duration: 4h 36m
Published 8/2023
MP4 | Video: h264, 1280x720 | Audio: AAC, 44.1 KHz
Language: English | Size: 3.52 GB | Duration: 4h 36m
Leran how to make Landslide Risk Analyse for any of the area
What you'll learn
AHP Method
Risk Analysis with ArcGIS
Weighted Overlay Analysis
Calculating Risk Areas
Requirements
ArcGIS Desktop
Main GIS Education could be advantage (Not mandatory/Im telling everything)
Description
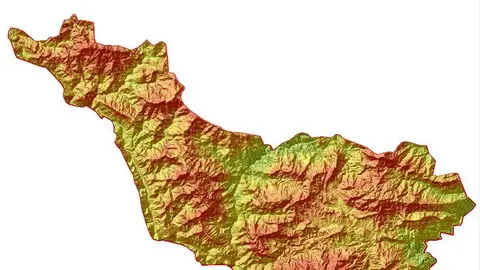
Hello,The weights and effects of 10 different layers were calculated for the landslide risk analysis with the AHP multiple decision making method. The use of Geographic Information Systems (GIS) in risk analysis studies is increasing day by day. Geographic Information Systems are used to collect, process and analyze existing data in order to identify potential risk areas. In this study, landslide susceptibility areas of the city of Pithoragarh were determined by GIS techniques. In the modeling phase, the Weighted Overlay Analysis method was applied and digital maps such as elevation, slope, aspect, curvature shape, precipitation, NDVI Analysis, Land Use, Relative Relief, distance to stream, distance to highway maps were used. All these maps were superimposed by processing the degrees of gravity, and as a result, the (risky) areas in the region that would be affected by the landslide were obtained.You will learn from where and how the data to be used in the analysis is downloaded, what geographical processes it goes through and how it is prepared for analysis. How raster and vector data are prepared one by one, projection conversion operations, adding fields and the shortcuts that will speed up your process when converting from raster to vector and from vector to raster will be especially useful for you. Based on this study, it has been prepared as a resource for you to do a similar study about any part of the world. By sharing the data I used throughout the study with you, I allow you to practice.
Overview
Section 1: Introduction
Lecture 1 Road Map of Project
Section 2: Downloading Free DATAS
Lecture 2 How to download boundary datas
Lecture 3 How to define projection system
Lecture 4 How to download SRTM datas
Lecture 5 How to Download Rainfall datas
Lecture 6 How to Download Landsat 8 Satelite İmage
Lecture 7 How to Download Landuse Land Cover Raster (LULC)
Lecture 8 How to Download OSM vectoral datas
Section 3: Preparing Data Analysis
Lecture 9 Creating Raw Elevation Map/ Part 1
Lecture 10 Creating Raw Elevation Map/ Part2
Lecture 11 Creating Raw Slope Map
Lecture 12 Creating Raw Aspect Map
Lecture 13 Creating Curvature Map
Lecture 14 Creating Rainfall Map
Lecture 15 Relative Relief Map
Lecture 16 Creating LULC Map
Lecture 17 Creating Stream Distance Map
Lecture 18 Creating Road Distance Map
Lecture 19 NDVI Analyse Map
Section 4: Reclassiffication (For Rasters)
Lecture 20 Reclassfication Process
Section 5: Conversion and assigning risk values for subclasses
Lecture 21 Conversion 1 (Raster to Vector)
Lecture 22 Preparing SRTM to Analyse (Assigning Risk Values)
Lecture 23 Preparing Slope to Analyse (Assigning Risk Values)
Lecture 24 Preparing Aspect to Analyse (Assigning Risk Values)
Lecture 25 Preparing Curvature to Analyse (Assigning Risk Values)
Lecture 26 Preparing NDVI to Analyse (Assigning Risk Values)
Lecture 27 Preparing LULC to Analyse (Assigning Risk Values)
Lecture 28 Preparing Relative Relief to Analyse (Assigning Risk Values)
Lecture 29 Preparing Distance From Roads to Analyse (Assigning Risk Values)
Lecture 30 Preparing Stream Distance to Analyse (Assigning Risk Values)
Lecture 31 Conversion 2 (Vector to Raster)
Section 6: Analytic Hierarchy Method /Finding Major Risk Values
Lecture 32 Analytic Hierarchy Factor with excel sheet
Lecture 33 Weighted Overlay Analysis and Printing
Lecture 34 Calculating Risk and Subclasses Areas
Surveying Engineers,Planners,Geological Engineers