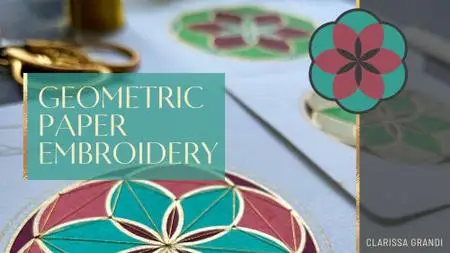
Geometric Paper Embroidery: Construct, Colour and Stitch a Simple Pattern on Paper
Duration: 1h 27m | .MP4 1280x720, 30 fps(r) | AAC, 48000 Hz, 2ch | 1.18 GB
Genre: eLearning | Language: English
Duration: 1h 27m | .MP4 1280x720, 30 fps(r) | AAC, 48000 Hz, 2ch | 1.18 GB
Genre: eLearning | Language: English
Are you looking for a new technique to add a little something more to your artworks on paper? Perhaps you've come across paper stitching before and you're wondering how it's done?
In this class, I will be teaching you the basics of how to embroider simple patterns onto… watercolour paper!
Hi, I’m Clarissa, a geometric artist and experienced teacher, based in the UK. In my own creative practice I enjoy experimenting with different mixed media techniques to enhance the underlying geometry of my artworks. One of my all time favourite techniques is paper stitching. This slow, meditative process adds a delicate, tactile finish to elevate even the most simple designs.
In this engaging course I will share my tips and experience as I guide you through the steps of constructing, colouring and stitching your own geometric embroidery project on paper.
In this class you'll learn:
How to construct a simple geometric motif with compass and ruler
Tips on achieving accuracy in your geometric designs
How to choose your colour palette
Which threads and paper types are suitable for paper stitching
How to pierce and prepare your paper for stitching
How to plan your stitching sequence
And how to tighten and secure your stitches to finish your artwork
You’ll be creating:
An elegant, hand-stitched geometric artwork you’ll be proud to display or gift.
Is this class for me?
Absolutely! No prior experience is necessary. Whether you’re a complete beginner, a hobby artist or an experienced practitioner looking to add a new technique to your skillset, the wonderful thing about geometric art is that it is accessible to everyone – you don’t need to be ‘good at art’ (whatever that means!).
Even if you’re completely new to constructing geometry, or to sewing, you’ll be able to follow these step-by-step techniques to create your own artwork. And what’s more, you’ll gain skills that you can apply to more ambitious projects in the future. The possibilities are endless!
Materials needed:
A drawing compass, ideally with a pen holder attachment
A ruler, a pencil and an eraser
A small sheet of watercolour paper or card (approximately postcard or A5 size)
A piece of cardboard or a cutting mat to press on
A colouring medium of your choice (e.g. paints, watercolour pencils, coloured pencils, marker pens, paint pens)
A pen to outline your pattern
A sewing needle and your choice of thread
Low tack tape (e.g. washi tape, masking tape, painters tape)
A small pair of scissors
An awl or paper piercer (or you can simply use the point of your compass)
Downloadable resource pack
Find this in the right-hand sidebar in the Projects & Resources section, when viewed via a web browser.
Time to get started - I can’t wait to see what you create!


