Chalk Lettering for Coffee Bars & Restaurants
Chalk Lettering for Coffee Bars & Restaurants
.MP4, AVC, 2500 kbps, 1280x720 | English, AAC, 128 kbps, 2 Ch | 36m | 678 MB
Instructor: Cristina Pagnoncelli
.MP4, AVC, 2500 kbps, 1280x720 | English, AAC, 128 kbps, 2 Ch | 36m | 678 MB
Instructor: Cristina Pagnoncelli
Are you ready to create your first chalk art?
In this class you will learn how to plan your art and lettering for small and big surfaces. You will get some tips on how to communicate well in a simple and attractive way, decorating and playing with different colours, forms and shades. You will also see the process on how to project your design from paper to any size of chalkboard and walls.
This class is for beginners: No prerequisite knowledge or techniques required. If you already knows how to draw or letter, it gets easier, but anyone can learn from this video.
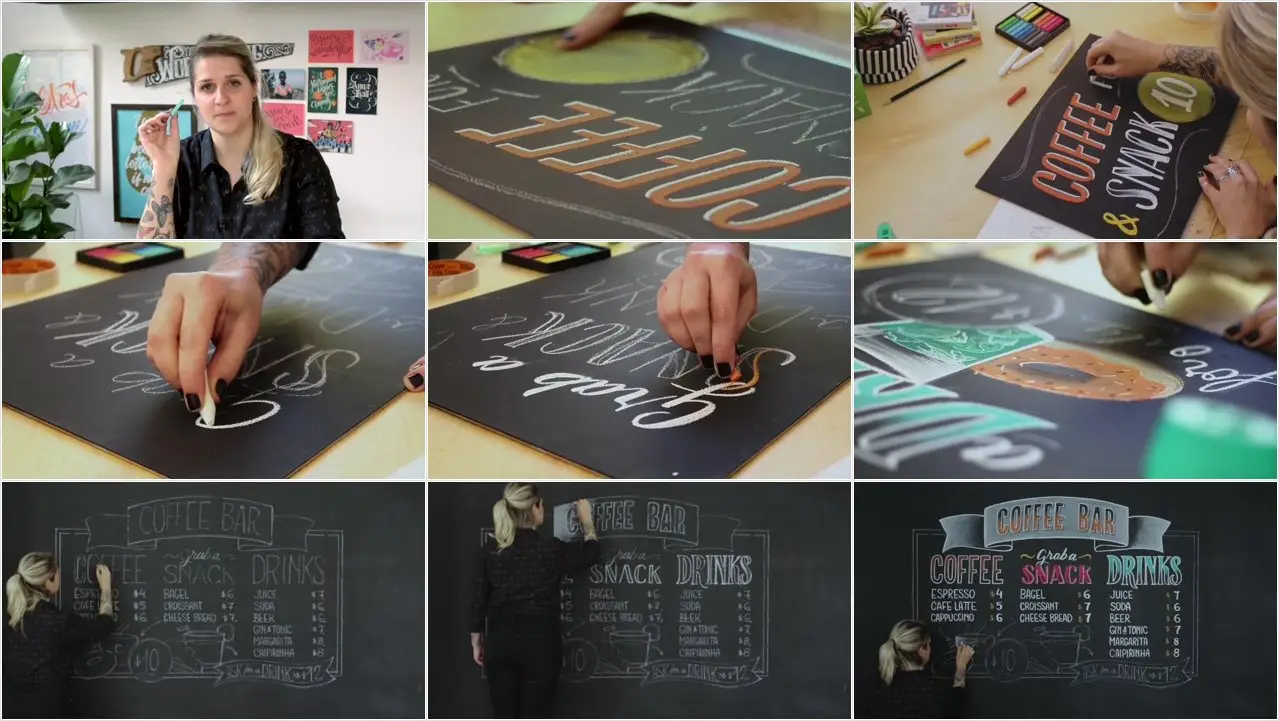
1. Intro . Meet Cristina Pagnoncelli, a designer and visual artist from South Brazil. She has been working with chalk for the last 5 years, specially for coffee bars and restaurants. Check out some of her works and get inspired to do your own - as a hobby or even for a real job.
2. Where to start . Once you have all the information you need to communicate, the idea is to visualize it by writing it down and listing some ideas you could work with.
3. Looking for inspiration . The creativity doesn't come from nowhere. Look at some inspiring designs, check into books and websites. Don't hesitate on going through someone else's work to get some ideas.
4. First studies on paper . The best way to plan your art is to start small. Draw some ideas on the proportion of the final surface. This way you can visualize the whole project before going big.
5. Choose the best layout . After some studies, it will give you more confidence to decide where to go from there. Draw it a little bit bigger and plan what else could help your art to be more harmonic and attractive.
6. Resizing it to the chalkboard . You won’t need a projector. The tip on this class is to teach you how to visualize any size of a surface as a puzzle where you can fit all the information you need. Start training your eyes to resize and see visual spaces.
7. Adding body to your letters . Here you’ll check some tips on how to work on your letters. Using some inner gradients and shadows to give more life to it and to highlight what is most important. Notice that each information has different weight on the whole art in order to communicate what is most relevant to see first.
8. Adding charm to your art . Learn how to explore the chalk in different textures. Using colours mixed with white chalk and contrasting with the blackboard is a good way to call more attention to some information or to play with some three-dimentional letters and illustrated elements, bringing more style to your whole art.
9. Final touches . Don’t forget to clean some extra sketches that were left behind. Check some tips on how to erase the chalk and finalize your art.
10. EXTRA - Small Chalkboard. Watch the entire timelapse video of the process.
11. EXTRA - Medium Chalkboard. Watch the entire timelapse video of the process.
12. EXTRA - Wall Menu in Chalk. Watch the entire timelapse video of the process.

Chalk Lettering for Coffee Bars & Restaurants