A Complete Course On An Iot System - Design And Development
MP4 | Video: h264, 1280x720 | Audio: AAC, 44.1 KHz
Language: English (US) | Size: 2.16 GB | Duration: 8h 52m
MP4 | Video: h264, 1280x720 | Audio: AAC, 44.1 KHz
Language: English (US) | Size: 2.16 GB | Duration: 8h 52m
ESP8266/ESP12 IOT design, Arduino, MQTT, Cloud web server and encryption, Google Home Account Linking and Fulfillment
What you'll learn
Learn how to design the hardware of an IOT device with an ESP8266 microcontroller
Learn how to develop firmware of an IOT device using Arduino IDE
Learn how to build your own cloud server for IOT systems
Learn how to install an MQTT broker (mosquitto) on your cloud server.
Learn how to write programs for MQTT publish/subscribe for cloud server as well as the device
Learn how to build a Django web server with SSL certificate and encryption to communicate with device
Learn how to link your cloud server with Google Home action console
Learn how to write programs for the endpoints for Google Home account linking and action fulfillment
Requirements
It will help if you have some background in electronics and basic programming principles. In addition, this being a hands-on course, you need the following additional components to complete this course.
Development board - NodeMCU development board and a relay. Note: The integrated development board from WiFiSecureAccess is no more available for purchase. The video lessons in this course use this board. But, you do not need that if you can get NodeMCU development board.
DHT11 temperature/Humidity sensor
HC-SR501 motion sensor (3.3V)
Micro USB cable
110/240VAC power cable
An electrical load such as a Table Lamp or Fan or anything similar for testing
A breadboard, if you are using nodeMCU development board.
Description
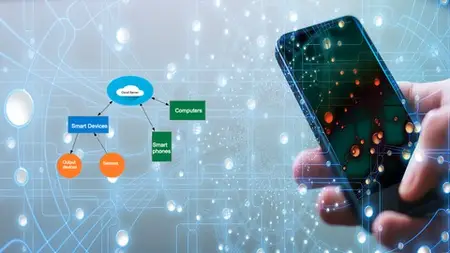
This is a complete hands-on course on design and development of an IOT system from scratch. The major components (or modules) of an IOT system are a smart device, MQTT broker, cloud server, a web server with user interface through Google Home or Alexa. In this course, the students will learn to design and develop every component of an IOT system. They will learn how to design the hardware of an IOT smart device, learn how to develop the firmware using Arduino IDE. Then they will learn installing a cloud server and configuring it. Then, they will learn installing an MQTT broker in the cloud server, as well as installing a Django web server. They will then learn writing publish/subscribe programs for MQTT as well as web server so that users can activate any port of a smart device by clicking appropriate buttons on the browser of a remote computer. They will, then learn about linking the Google Home console server with their cloud server. They will learn how to write the needed programs for their web server to handle account linking and action fulfillment. At the completion of this step, they will be able to activate any port of their device by voice command on Google Home on their smart phone.After completion of this course, students will acquire skills and knowledge about every module of an IOT system.At the end of this hand-on course, they would have also developed a working IOT system that they can use in their home or office for applications such as turning ON/OFF of an equipment or any electrical load, opening a garage door, or using as a keyless entry controller to their house using a smart phone. They also would have built an IOT system that they can experiment with and learn further to enhance their skills and expertise in IOT. They also will have a system that can be used for making marketable products.
Who this course is for:
DYI enthusiasts, Entrepreneurs, Engineers, Developers, Professionals, College and school students and anyone with an interest to learn IOT


