

Digital-Tutors - Animating a Fight Scene in Maya

Digital-Tutors - Animating a Fight Scene in Maya
Duration: 6h 38m | Video: AVC (.flv) 1280x720 15fps | Audio: AAC 44.1KHz stereo | 3 Gb
Genre: eLearning | Level: Advanced | Language: English | Software used: Maya 2012
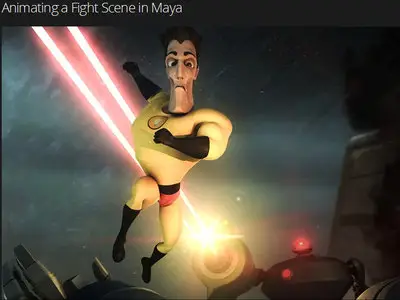
In this Maya tutorial we will use animation and dynamics techniques to create a combat scene.
Throughout the lessons we will take a straight-ahead approach to animating a fight scene between three characters, using some basic techniques for establishing timing and camera angles before getting to work. Along the way, we will utilize the spontaneity the straight-ahead method allows in order to experiment with different narrative and choreographical choices for our scene.
Because combat scenes often involve the participants being damaged, we will explore different methods for simulating damage on our character rigs, using deformers like blend shapes as well as dynamic elements like particles and lightning effects.
By the end of this training, you'll be able to approach any scene requiring character interaction with the confidence to give yourself the freedom to explore different creative options while remaining true to the needs of the story.
34 Lessons
1. Introduction and project overview
01:03
Watch with a demo »
2. Establishing the scene
08:35
3. Blocking out the Hero's entrance
12:32
4. Completing the Hero's battle pose
13:30
5. Starting the attack jump
11:55
6. Continuing on the attack jump
08:29
7. Creating the attack pose
21:36
8. Blocking out the Hero's front flip
18:04
9. Refining the front flip
11:18
10. Finishing the front flip
01:35
11. Creating the robot arm rig
12:38
12. Beginning the Hero's second attack
12:12
13. Continuing the Hero's second attack
09:13
14. Adding the Hero's spin poses
08:32
15. Finishing up the spin attack
11:07
16. Adding follow-through to the Hero's attack
11:28
17. Beginning work on the final Hero pose
20:04
18. Finishing up the Hero's animation
15:40
19. Creating blend shapes to simulate battle damage
16:50
20. Beginning animation on the first robot guard
14:47
21. Creating the damaged robot guard components
13:13
22. Starting to pose the second robot guard
14:09
23. Modifying the second robot guard's blend shapes
10:12
24. Finishing the animation on the second robot guard
11:25
25. Refining in-between keys of the Hero's animation
09:14
26. Animating the robots' laser blasts
16:31
27. Creating the muzzle flashes for the robots' guns
15:26
Subscribe to watch
28. Using dynamics to create sparks
09:16
29. Using the Particle Collision Event Editor
06:47
30. Utilizing the Particle Instancer to create debris
13:11
31. Using sprites to create smoke
13:22
32. Using fields to simulate interaction on particles
07:15
33. Implementing the lightning effect
11:16
34. Reviewing the project
06:16