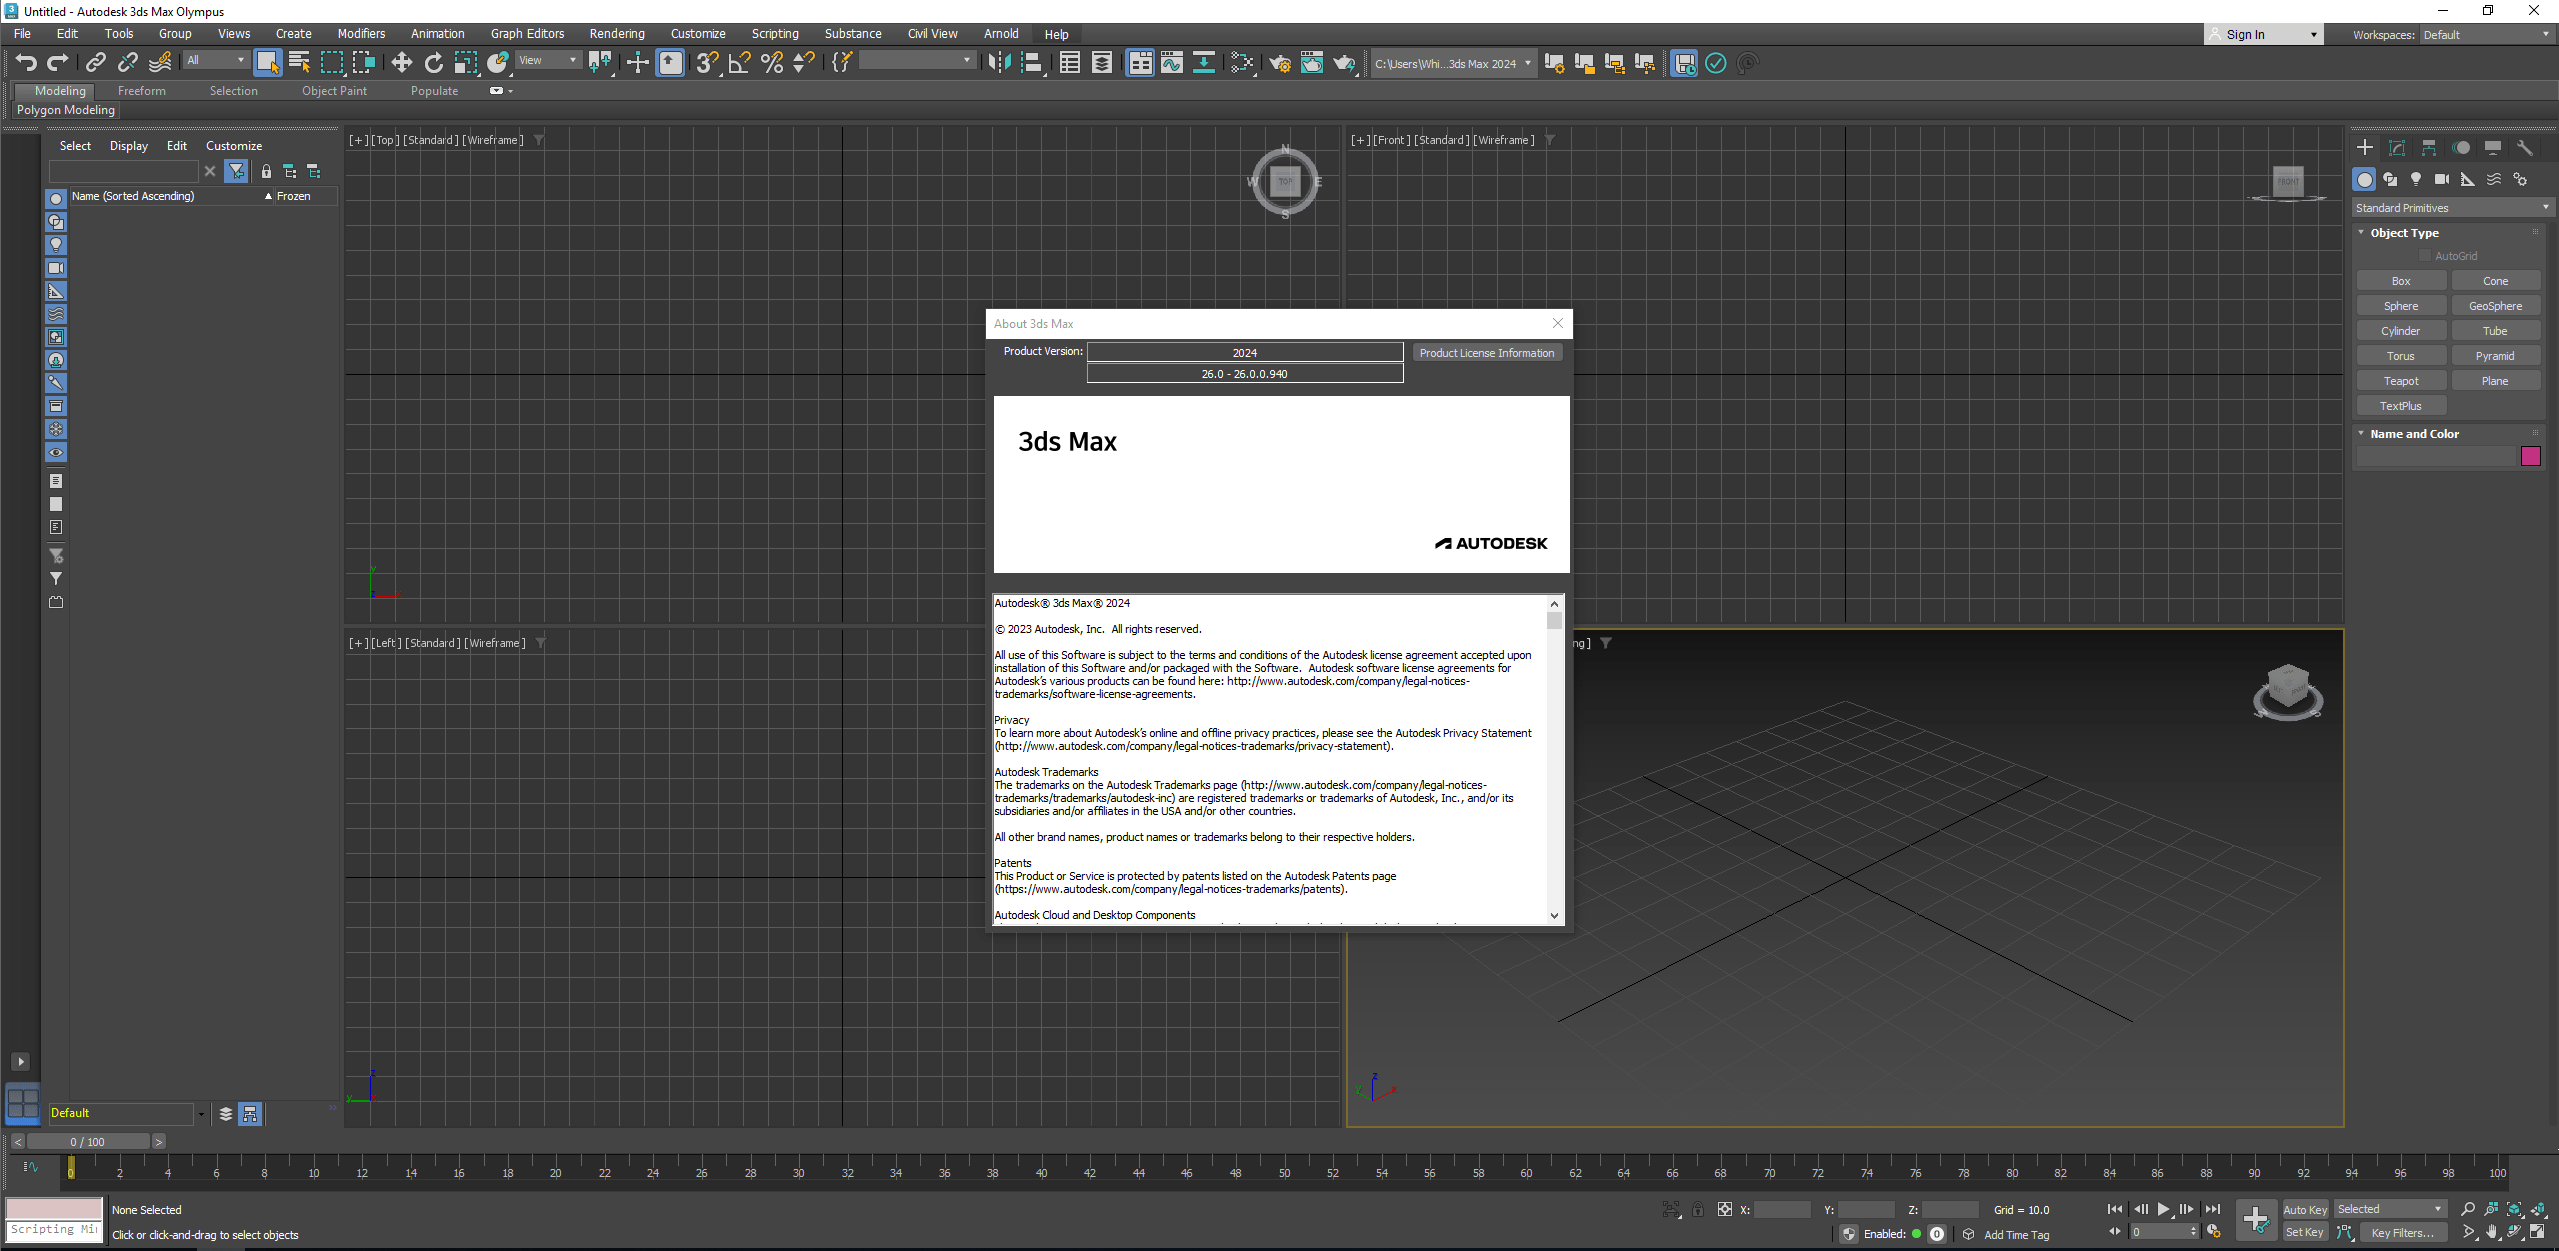
Autodesk 3ds Max 2024 with Offline Help | 8.0 Gb
Languages Supported: English, Deutsch, Français, 日本語, 简体中文, 한국어, Português-Brasil
Languages Supported: English, Deutsch, Français, 日本語, 简体中文, 한국어, Português-Brasil
Autodesk has announced the release of 3ds Max 2024. This release focuses on color and material management, enhanced modeling tools, and real-time workflows.
Color Management
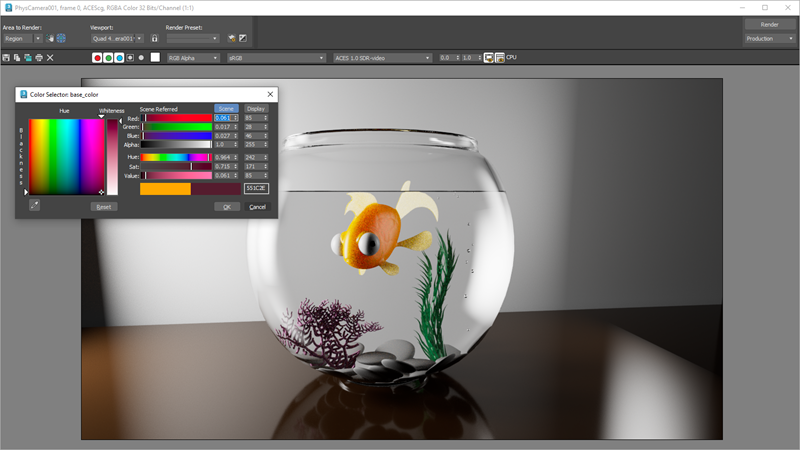
OCIO-based color management is a technology preview that brings the benefits of a modern color pipeline, assuring accurate reproduction of colors and compatibility across a variety of applications.
OpenColorIO is an industry-standard, open-source color management solution integrated in many content creation, editing, and finishing applications. It uses configuration files to define the color spaces used for input, rendering, display, and output, as well as to automate the transformations between these spaces. 3ds Max's default configuration is based on ACES, the Academy Color Encoding System, or you can use a custom config instead. You set up color management on the Color Management panel of the Preference Settings dialog. This technology preview is an early chance to test and provide feedback on advanced color management capabilities. Note that there are limitations, and not all planned features have been implemented. Please submit any technical problems, questions, or other feedback on our forum. The legacy gamma workflow is still the default for new scenes (unless you change your system settings), and existing scenes continue to work as before.
Boolean Modifier
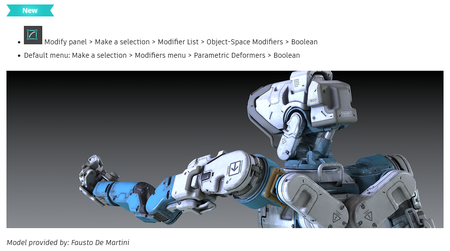
The Boolean modifier introduces an intuitive, art-directable workflow that facilitates procedural modeling and interactivity, while producing clean geometric output.
The Boolean Modifier combines objects into a single mesh by performing a boolean operation(s). You can use this modifier to accomplish tasks that are difficult to complete with traditional modeling methods. Unlike the ProBoolean and Boolean compound objects, the Boolean modifier is located in the Modifier stack, allowing you to model procedurally. This flexibility makes the Boolean modifier the recommended method for performing boolean operations in 3ds Max. The Add Operands rollout lets you use different operations to combine operands to make shapes that would otherwise be difficult to model using other techniques:
- Union: Unifies the volume of both objects.
- Intersect: Intersects the overlapping volume common to both original objects.
- Subtract: Removes the intersecting volume from the base (originally selected) object.
- Split: Inserts new edges on the base object along the intersection of the operand(s).
- Merge: Intersects and combines two meshes without removing any of the original polygons.
- Attach: Combines multiple objects into one without affecting their topology.
- Insert: Subtracts the bounding shape of Operand B (the newly added operand) from Operand A (the current result), leaving the shape of Operand B unaffected by the operation.
You can use the Operands rollout to edit your operands at any time, previewing changes in your scene in real time. Turn on Manipulate Operands to quickly select operands directly in the viewport instead of using the rollout.
The Options rollout provides controls related to materials and lets you select a boolean method.
The Display rollout lets you control the way Boolean results and operands are displayed in the viewport.
The Create rollout lets you create new objects based on your existing boolean results.
Boolean Modifier: OpenVDB
The OpenVDB method is an alternative way to calculate a boolean operation. It lets you produce topologically independent results from watertight geometry. You can select OpenVDB in the Boolean modifier Options Rollout. When OpenVDB is selected, your operands are converted into volumes, where the Boolean operation is calculated. The Boolean result is then converted back to meshed quadrilateral polygons. The OpenVDB method computes reliably and accurately and can be used when mesh issues are present, like operands that contain polygonal errors. This method is often successful when working with problematic geometry that cause the traditional Mesh method to fail. You can use the Voxel Size parameter in the Options Rollout to adjust the resolution of your boolean. The lower the Voxel Size value, the sharper the results. A higher Voxel Size value produces rounder features and a softening of edges because there is not enough resolution to produce hard edges. In areas where operands intersect, this softening can also create smooth transitional areas. This can produce results that appear more organic.
Note: Using a very small Voxel Size value can produce large quantities of geometry, which may cause 3ds Max to freeze. The default Voxel Size (1.0) generally captures most detail, but it is dependent on the size of the Boolean objects.
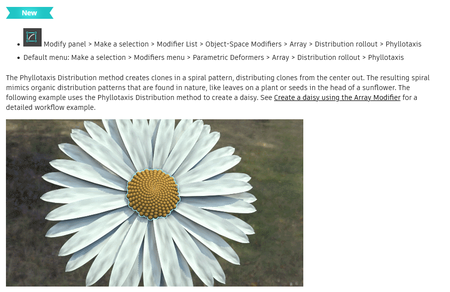
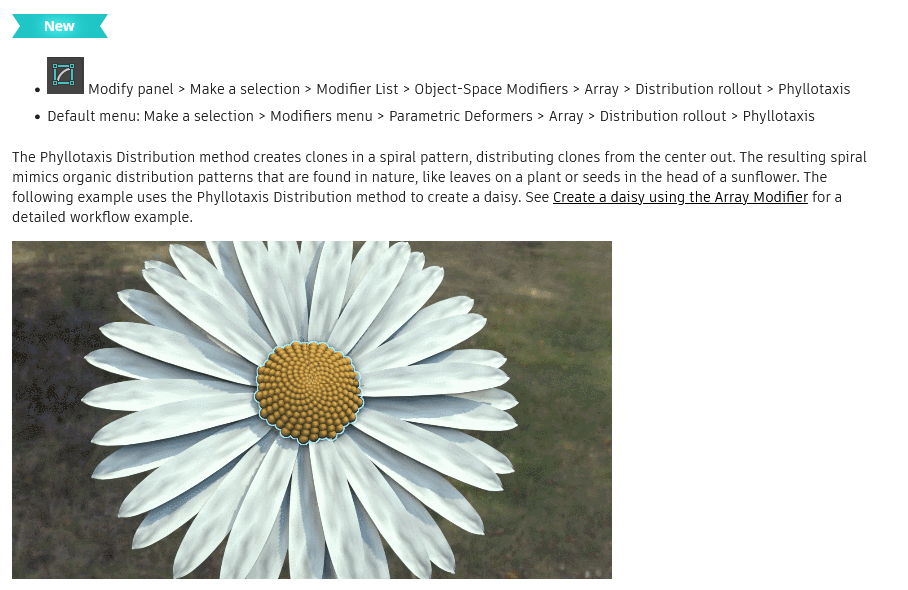
Array Modifier Distribution Method: Phyllotaxis
The Phyllotaxis Distribution method creates clones in a spiral pattern, mimicking what is found in nature.
Array Modifier: Material ID assignment
Originally introduced in the 3ds Max 2023.2 release, the Array Modifier's Material ID rollout now includes new parameters that let you assign material IDs to clones on a per face or per element basis. The following new methods provide more control over this assignment:
- Random: Material IDs are assigned to clones randomly based on a selected orientation.
- Ordered: Material IDs are assigned to clones in sequential order based on a selected orientation.
- First Middle Last: The specified material IDs are assigned to the first and last clone and the remaining material ID assignments are random.
Array Modifier: Progressive Transforms
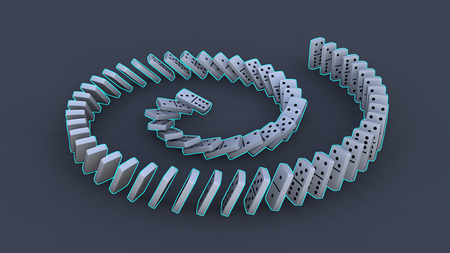
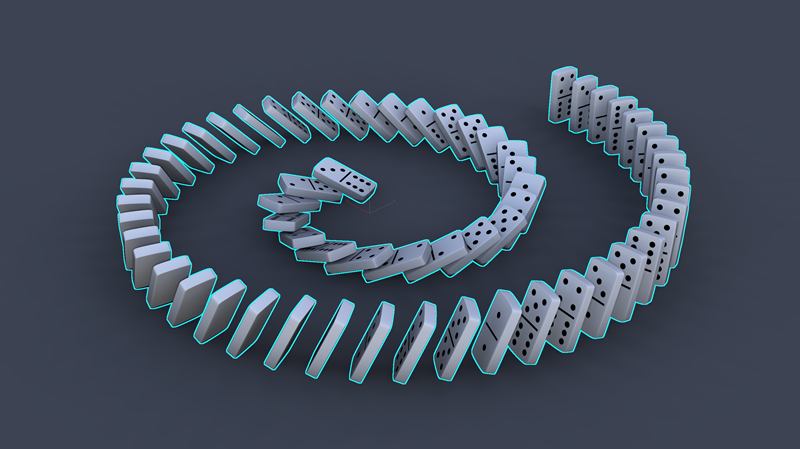
The Array modifier's Radial, Spline, and Phyllotaxis distribution methods now include a new Progressive method in the Transform rollout. Select Progressive in the Local Rotation or Scale drop-down list to alter transform data progressively. For example, a Scale X value of 200% results in no increase in scale for the first clone, but the last clone is scaled 200%. Every clone in between is scaled incrementally between 0-200%.
Transform List Controllers
The new Transform List Controller lets you add multiple Transform controllers to an object as layers of blended animation data. This lets animators add unique animation data to each layer, as well as letting them control how the layers blend together.
Other updates include:
- Mix transforms: Previously nodes could have only a transform controller, but now you can blend node transforms directly without additional scripting or complexity.
- Isolate Layer index: Gives you the ability to iterate on options and lets you edit list entries in isolation.
- List Controller: Benefits from an updated UI (based on the Transform List controller work).
- Motion paths: Updated to work with List controllers and now uses the active sub control position to display keys and tangents. This functionality applies even to position_lists inside of transform_lists. Motion paths are shown for all controller types, except biped and CAT, for example a Transform Script does not show a motion path.
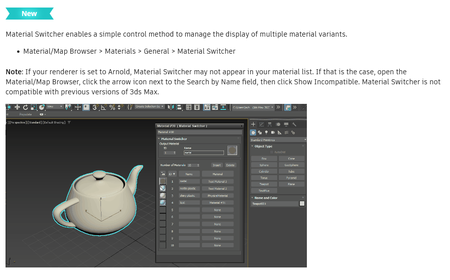
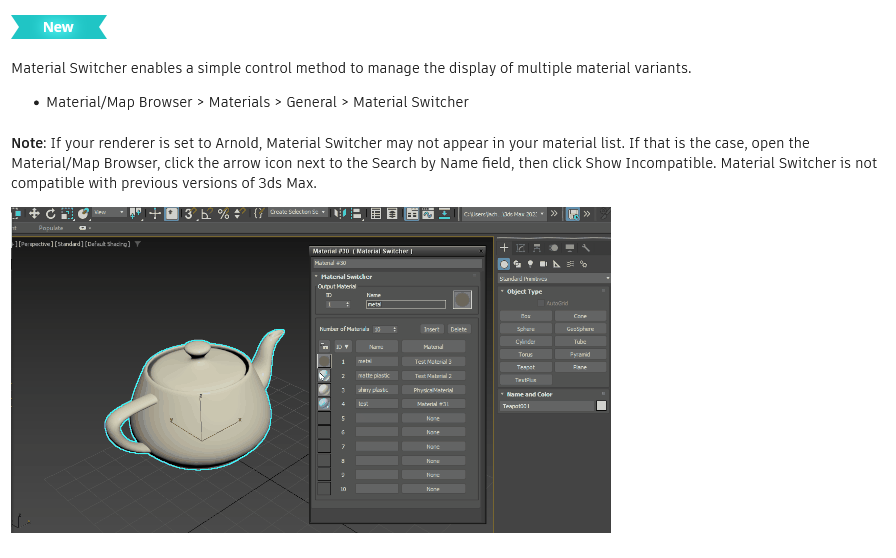
Material Switcher
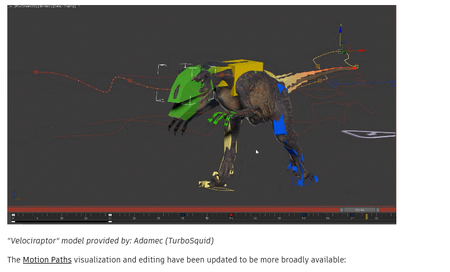
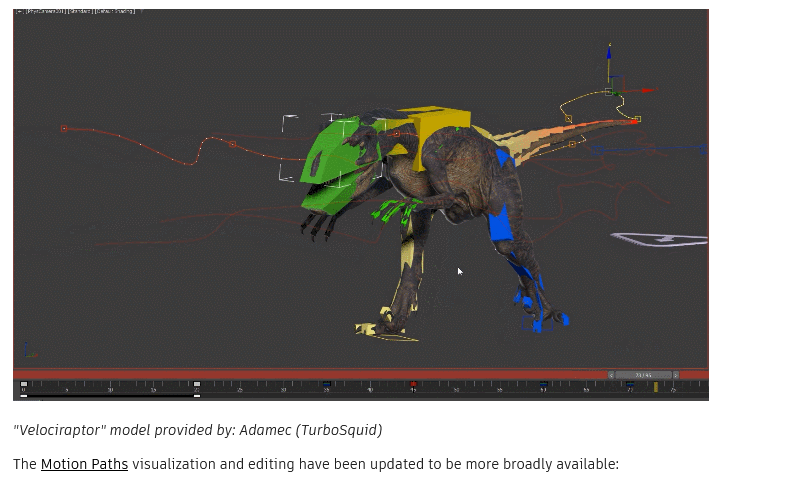
Updated Motion Paths
Motion Paths visualization and editing is now available for more controller types.
As of this version, Motion Paths:
- Display for all controller types.
- Work with List controllers, and uses the active sub-control position to display keys and tangents (this functionality applies even to position_lists inside of transform_lists.)
Note: These Motion Path updates do not affect CAT, or animation layers where Motion Paths are displayed with key controls, but without tangent controls, or Biped (which has its own trajectories solution).
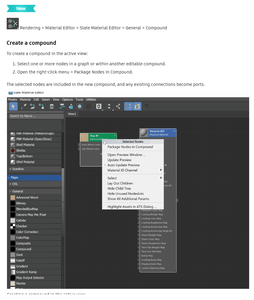
Compound Nodes
Compounds are nodes that contain subgraphs consisting of other nodes, possibly including other compounds. They can be used to organize and simplify large graphs for better readability.
Slate Material Editor
The Slate Material Editor has been improved for 2024, enabling improved optimization and customization capabilities to improve your material editing workflows.
- Ability to dock: You can now dock the Slate Material editor into the main 3ds Max interface. Simply drag and drop the SME over the desired position.
- Better customization: Now you can better customize the layout and organization of your material trees by placing wires behind nodes. Select the new Draw Nodes Behind Wires option to place all connection wires behind the nodes in your graph. You can find these options in the Preferences menu of the Slate Material Editor. The Slate Material Editor has a new color scheme that better integrates with the overall color scheme of 3ds Max. You can also customize the colors of nodes and graphs in the Slate Material Editor Graph Editor. This can be done by selecting: Customize (in the main 3ds Max toolbar) > Customize User Interface > Colors tab > Elements dropdown > SME.
- Two new materials: Material Switcher and Compound Nodes have been added to the Material/Map Browser.
. Material Switcher allows you to organize and store thousands of materials so you can easily swap assigned shaders in the viewport.
. Compound Nodes are nodes that contain subgraphs consisting of other nodes, possibly including other compounds. They can be used to organize and simplify large graphs for better readability.
New Modifier List search filter
The Modifier list now has a search filter so you can type the first letters of a modifier you want to jump to its position in the Modifier list.
What else is new?
This release of 3ds Max also includes the following changes and improvements.
3ds Max offers a rich and flexible toolset to create premium designs with full artistic control. With 3ds Max you can create massive worlds in games, visualize high-quality architectural renderings, model finely detailed interiors and objects, and bring characters and features to life with animation and VFX.
The 3ds Max 2024 release focuses on color and material management, enhanced modeling tools, and real-time workflows. For technical details.
Getting Started with 3ds Max
If you are new to 3ds Max, follow the lessons in this Getting Started series and learn the basics. Topics include navigating in 3ds Max, modeling, animating, texturing and lighting a finished scene. We strongly advise you to follow these lessons in sequence, from first to last, before moving to more advanced topics in other playlists.
Autodesk helps people imagine, design and create a better world. Everyone—from design professionals, engineers and architects to digital artists, students and hobbyists—uses Autodesk software to unlock their creativity and solve important challenges.
Product: Autodesk 3ds Max
Version: 2024 with Offline Help
Supported Architectures: x64
Website Home Page : www.autodesk.com
Languages Supported: multilanguage
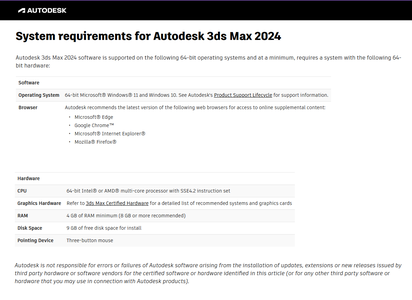
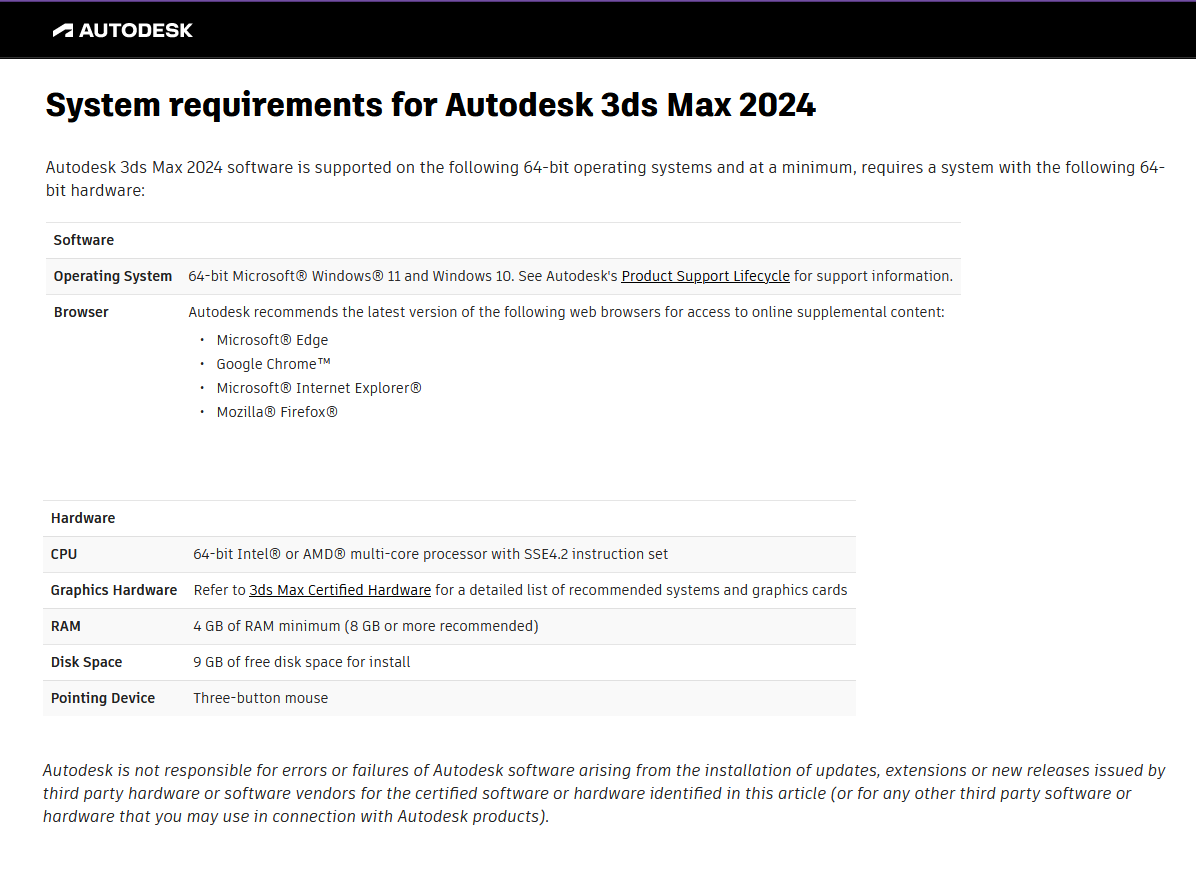
System Requirements: Windows *
Size: 8.0 Gb
Please visit my blog
Added by 3% of the overall size of the archive of information for the restoration
No mirrors please
Added by 3% of the overall size of the archive of information for the restoration
No mirrors please


